so i decided to move this stuff here instead of my intro page, though it made more sense.
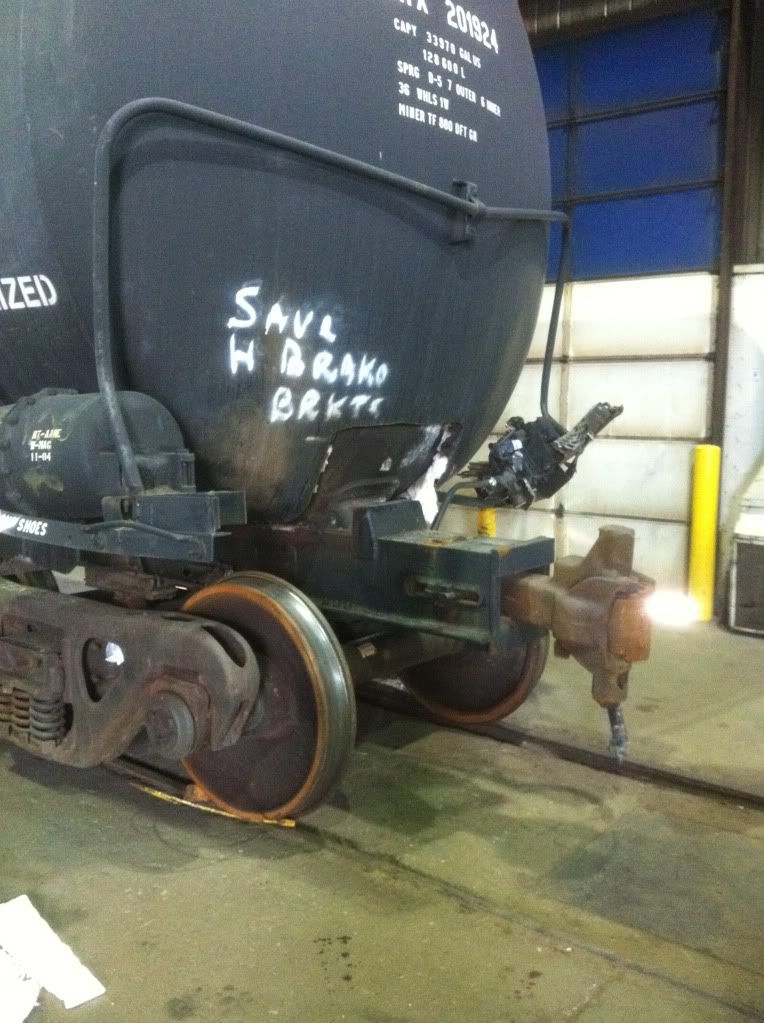
so heres a little something that im working on right now. some info first, this car derailed last year (aug 2010) and rolled over. it took all this time to inspect the car and to get it approved. its finally in our shop now and i get to fix it.
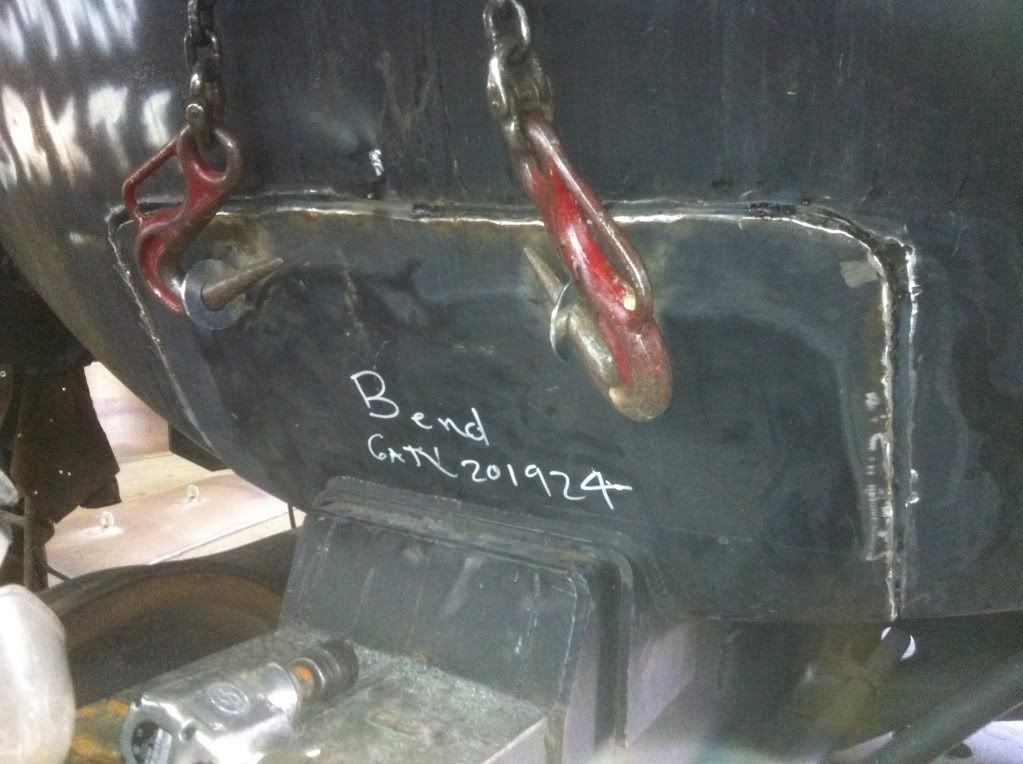
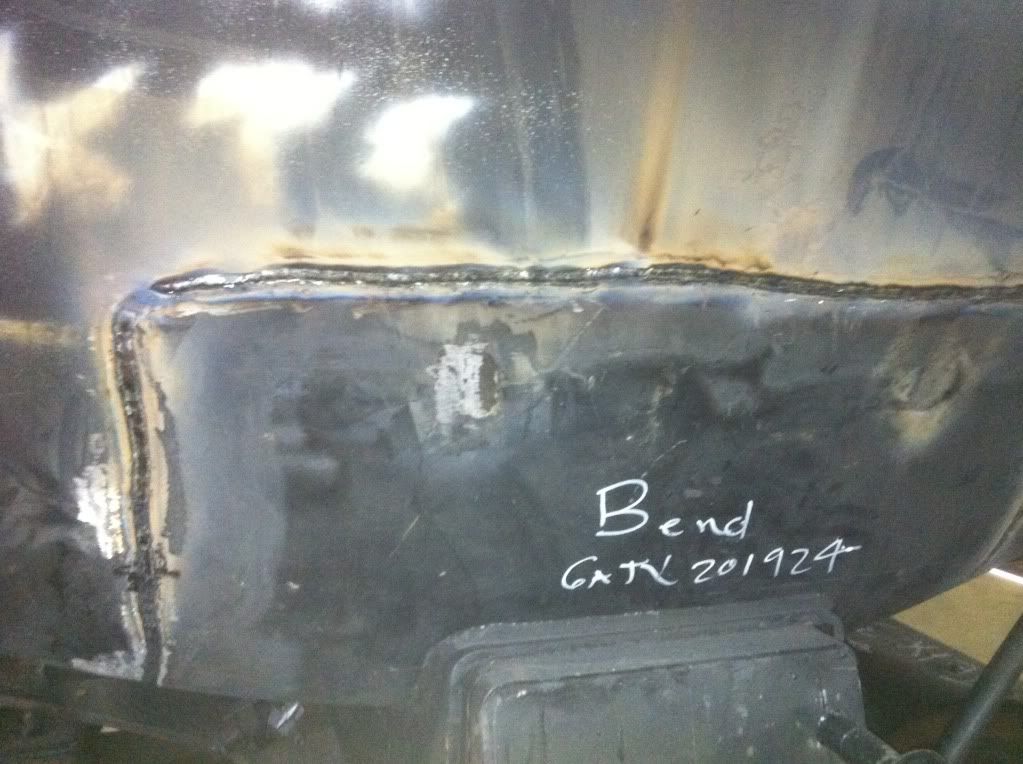
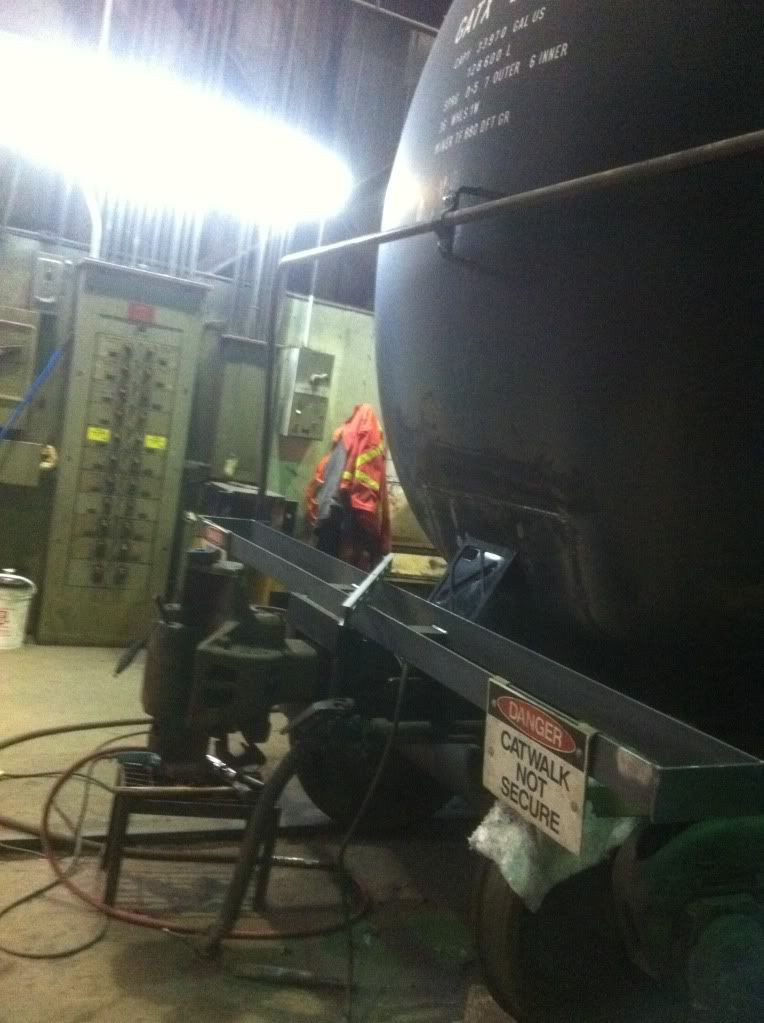
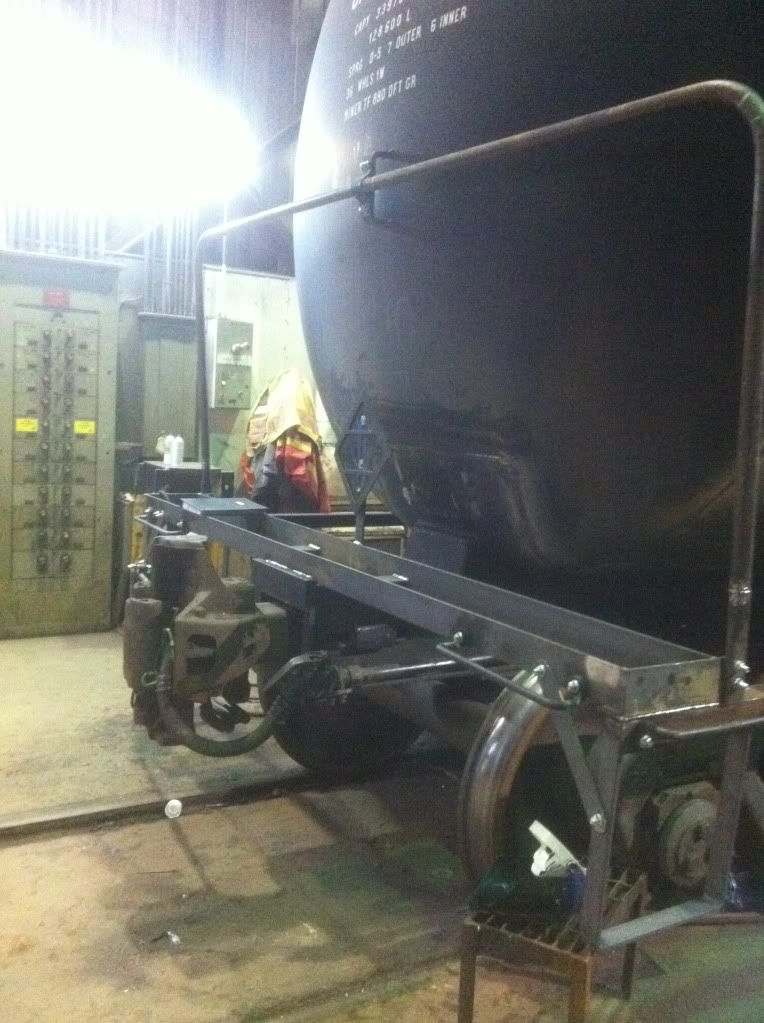
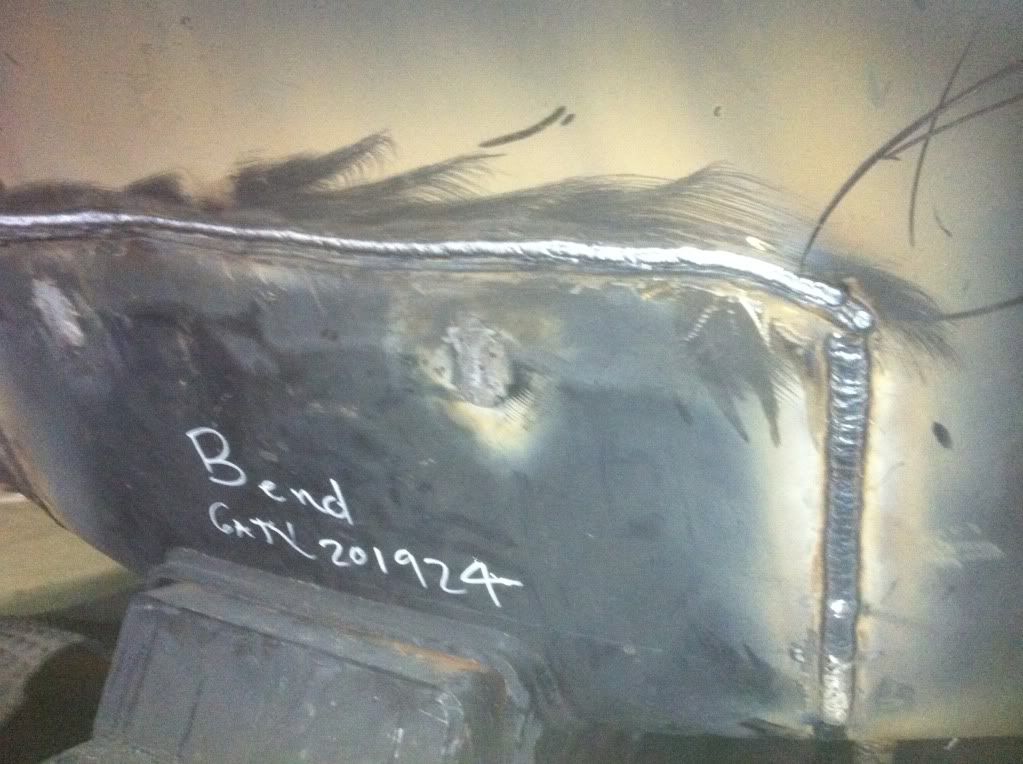
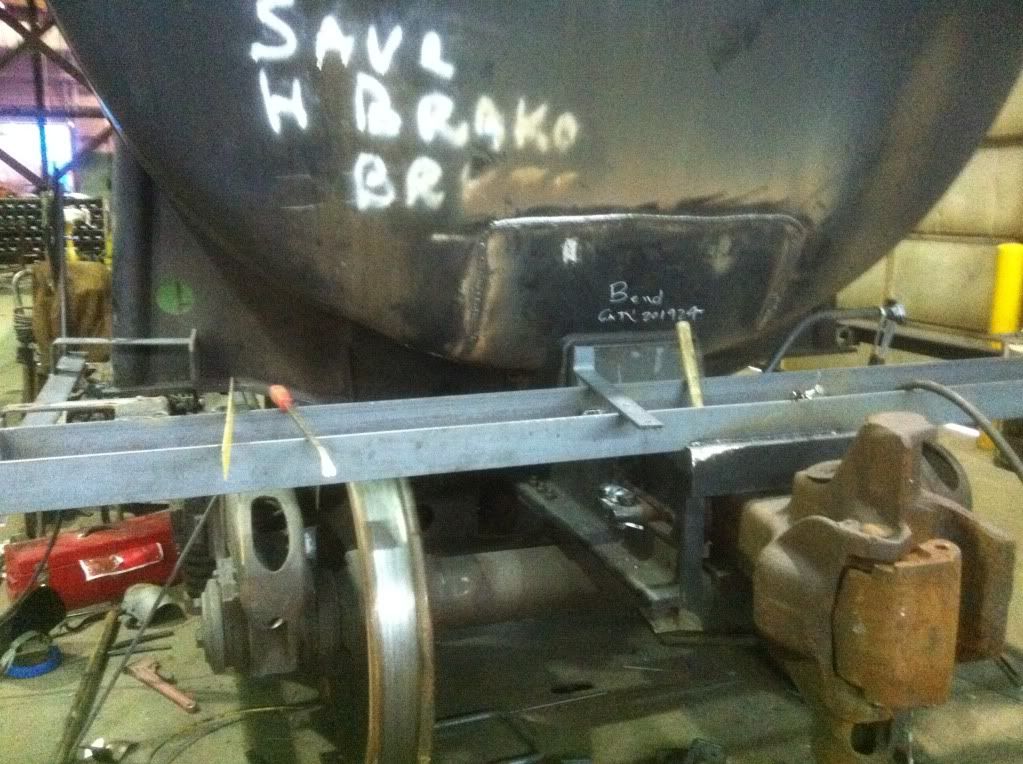
this pic is the B end, or the end with all the air brake equiptment on it. its fairly managled. you can see a cutout in the "headshield", thats just so we can inspect the welds that are under there for cracks.
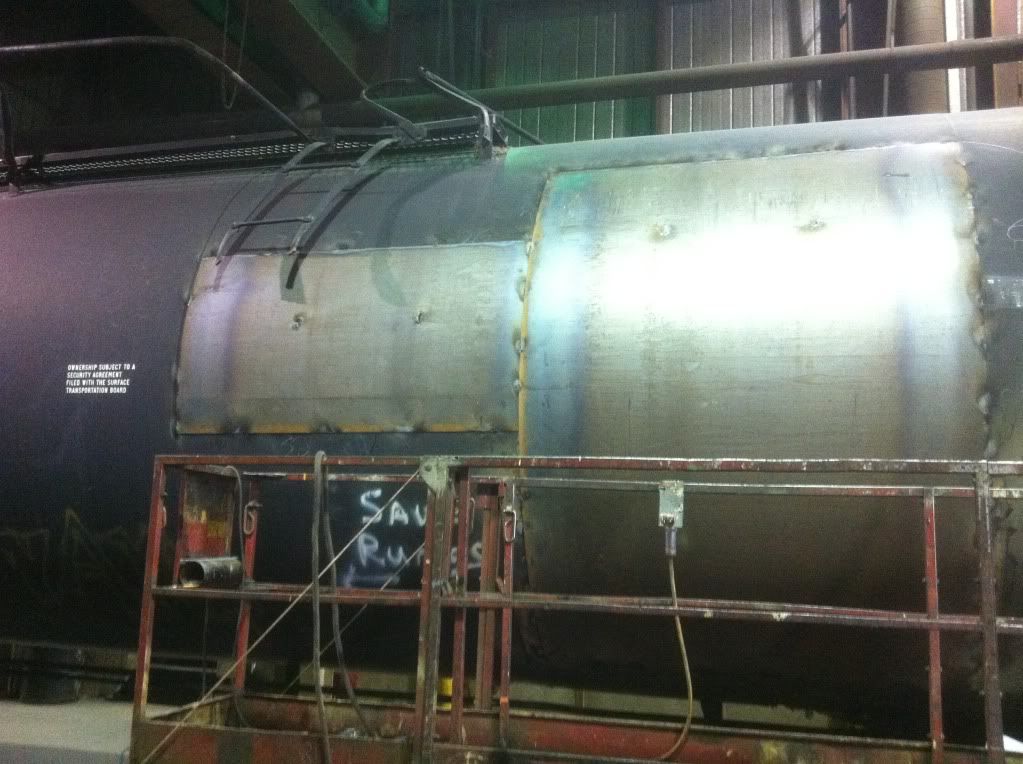
this is ceramic 1/2" insulation. i glued it to the tank so it will stay put. this car has an outside skin called jacket. we had to cut out the jacket to check for dents or cracks of the actual tank.
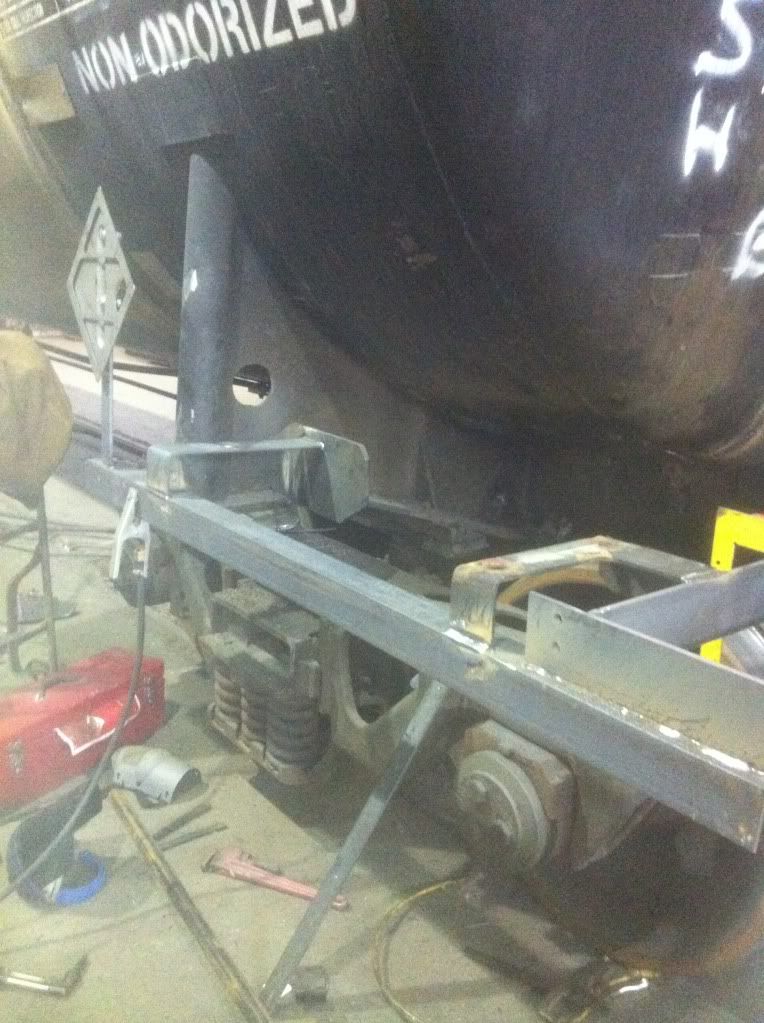
here is a shot of the other end without insulation in yet. none of the jacket that is going back on it precut, i have to fab it all myself. we get 1/8" rolled material 6' x 12' that i have to work with.
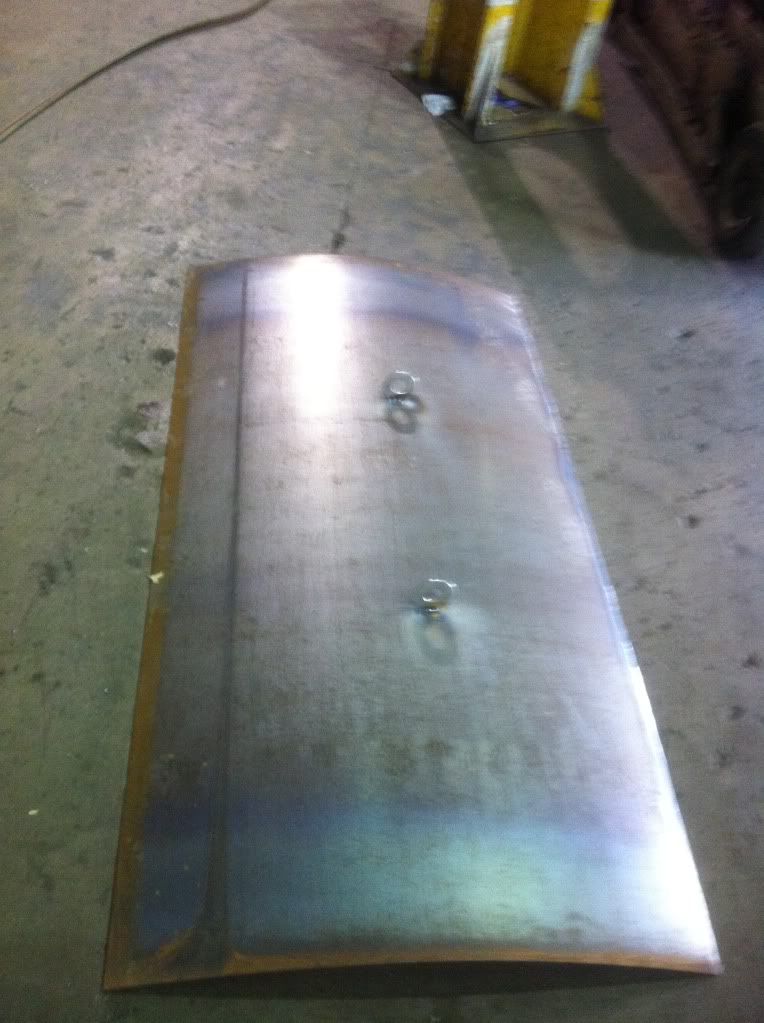
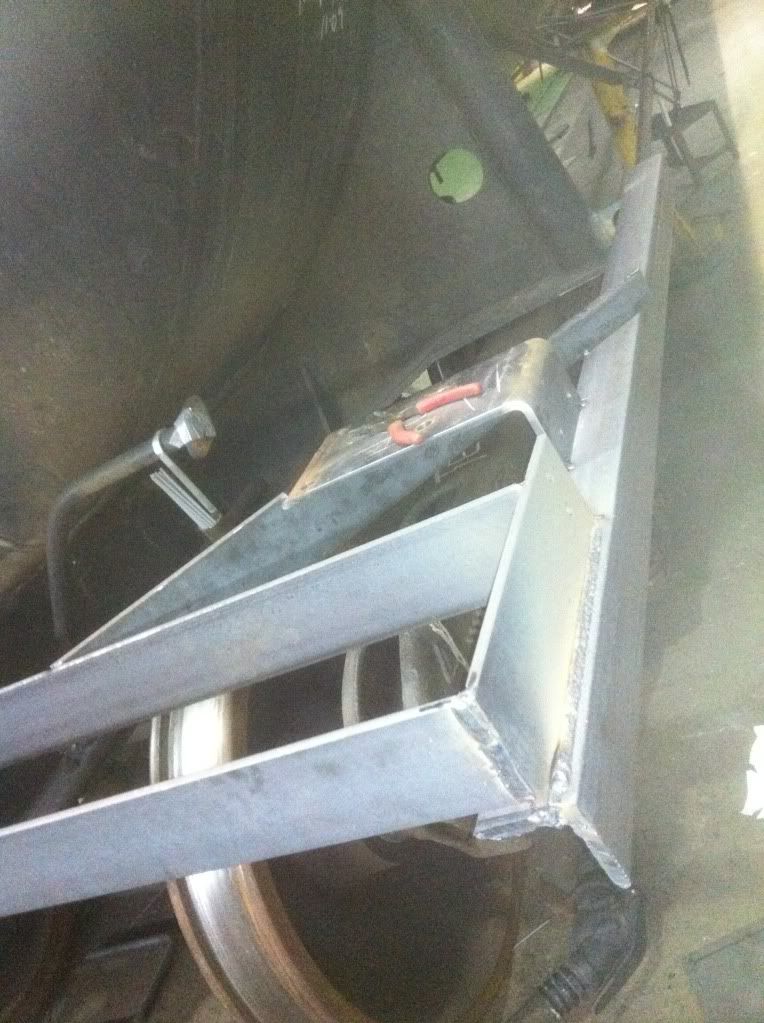
small peice cut and hooks welded on so i can lift it with the overhead crane.
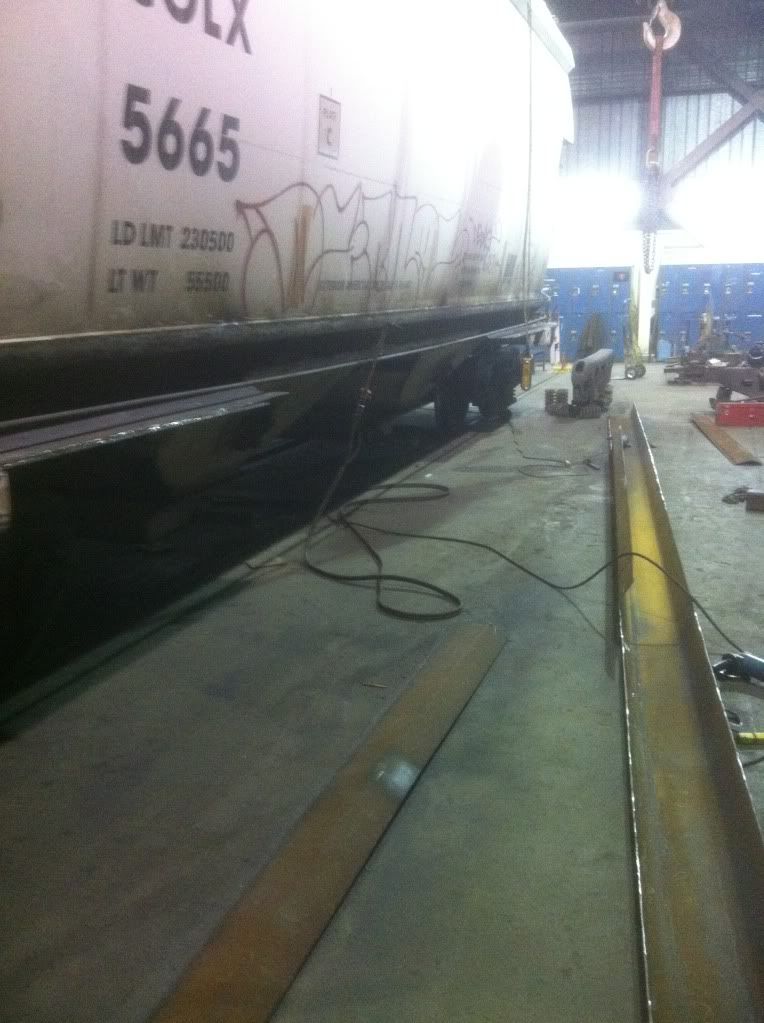
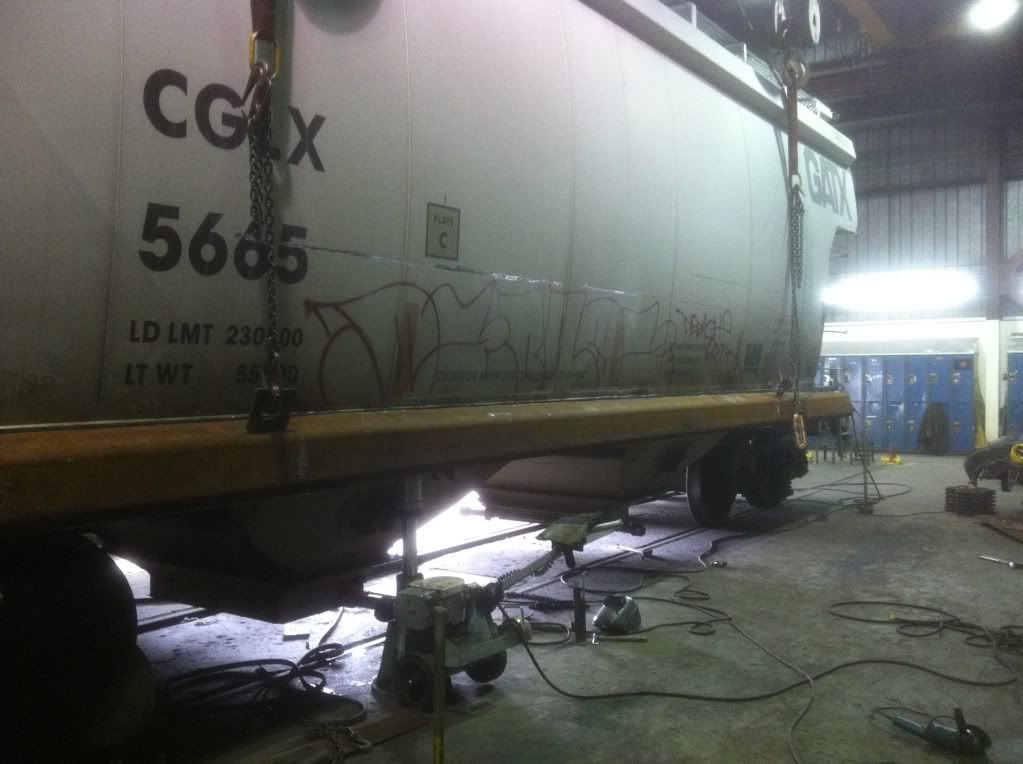
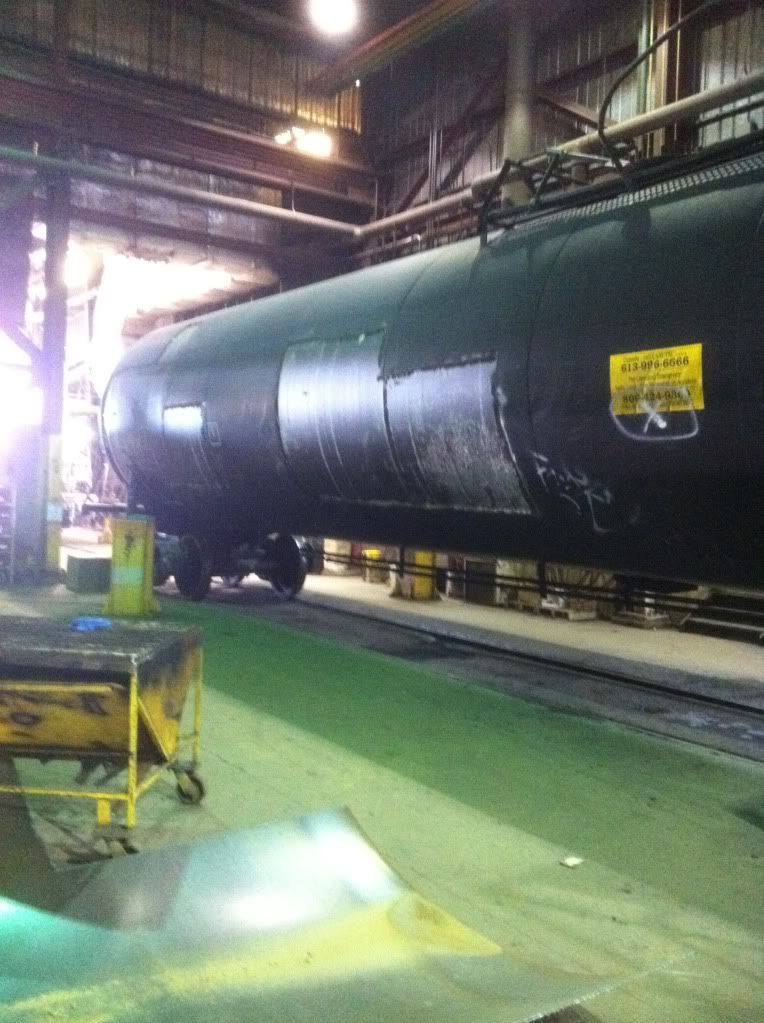
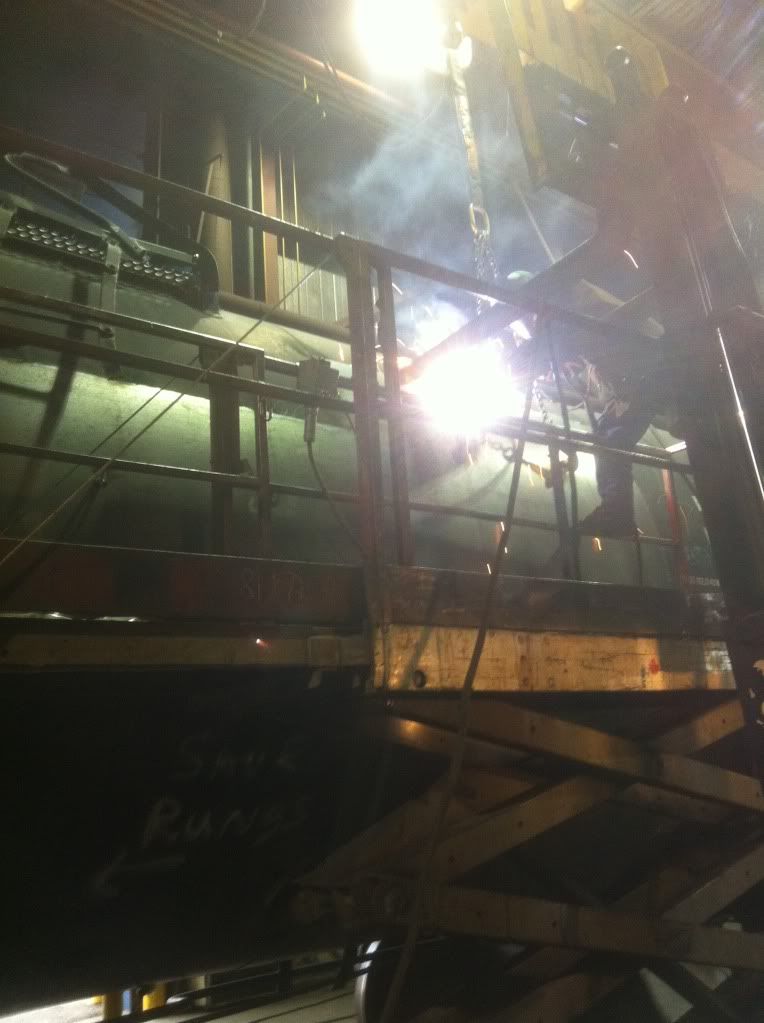
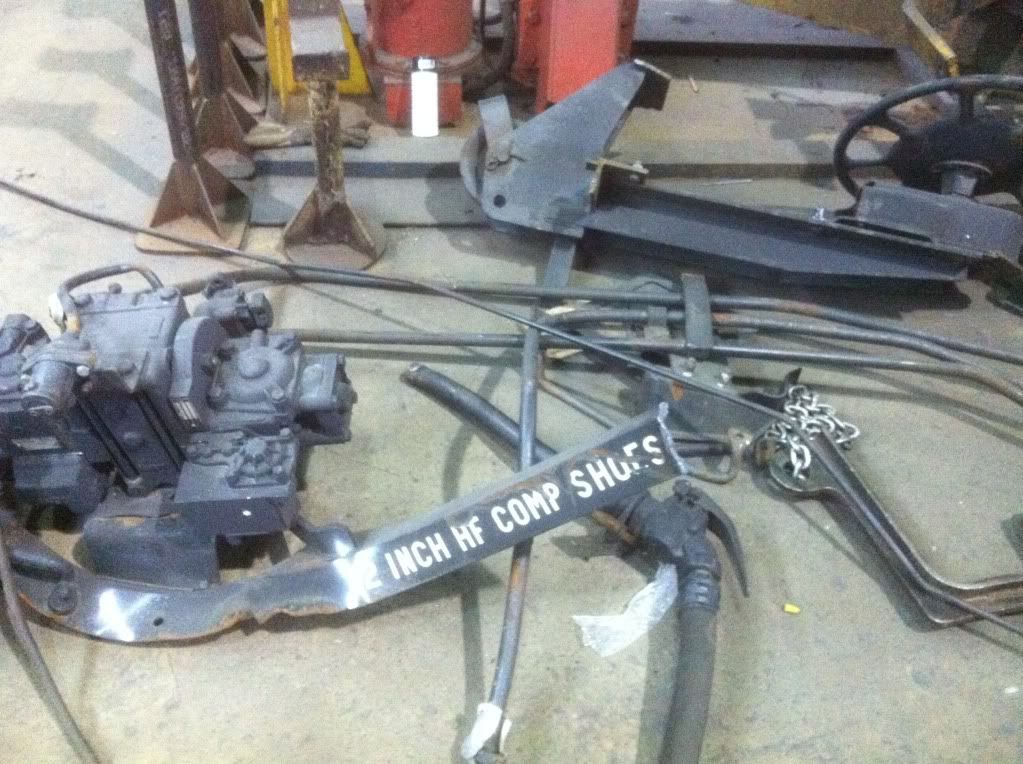
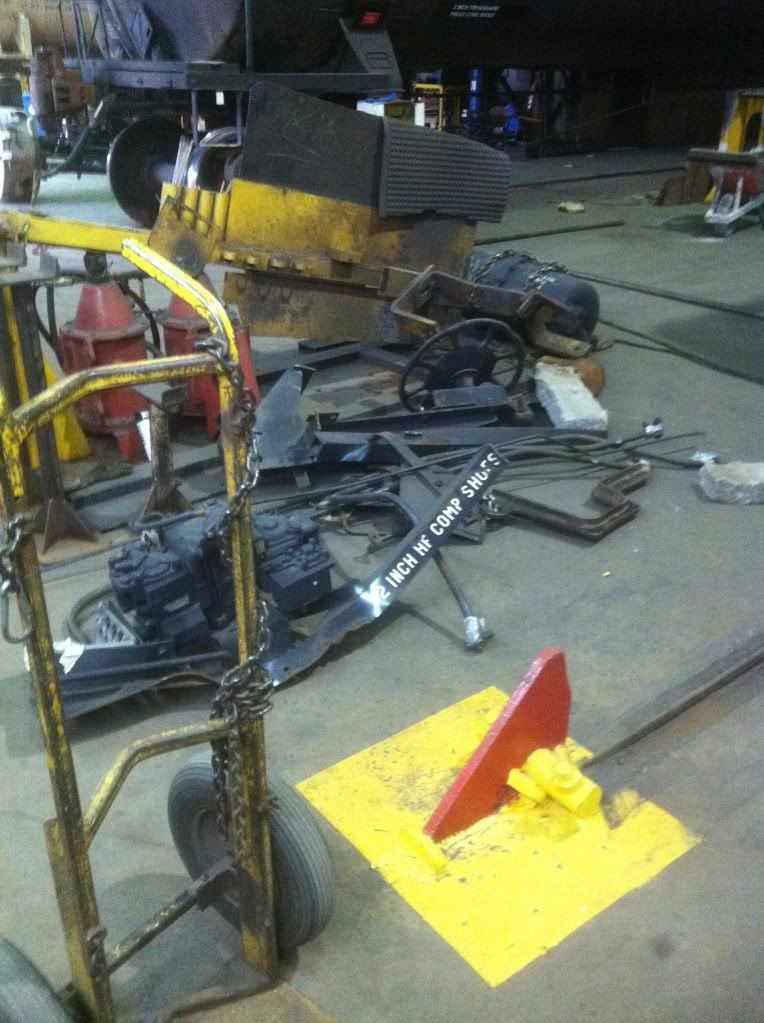
there is alot going on here, this isnt the car im on, but its on the track beside mine. as you can see i have a few pieces already cut and ready to go on the car at the far end of the pic. the yellow pedistal up front is what we put the cars on when we work on them. the small pieces of jacket on the pallet are for the car in the pic, not my car.
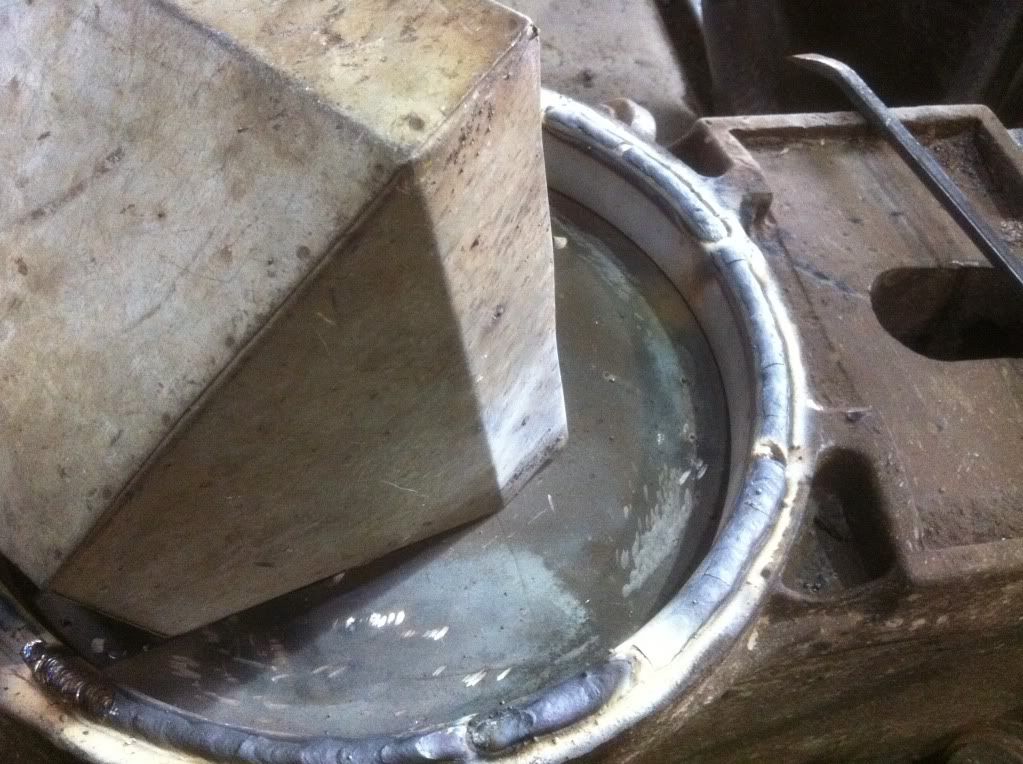
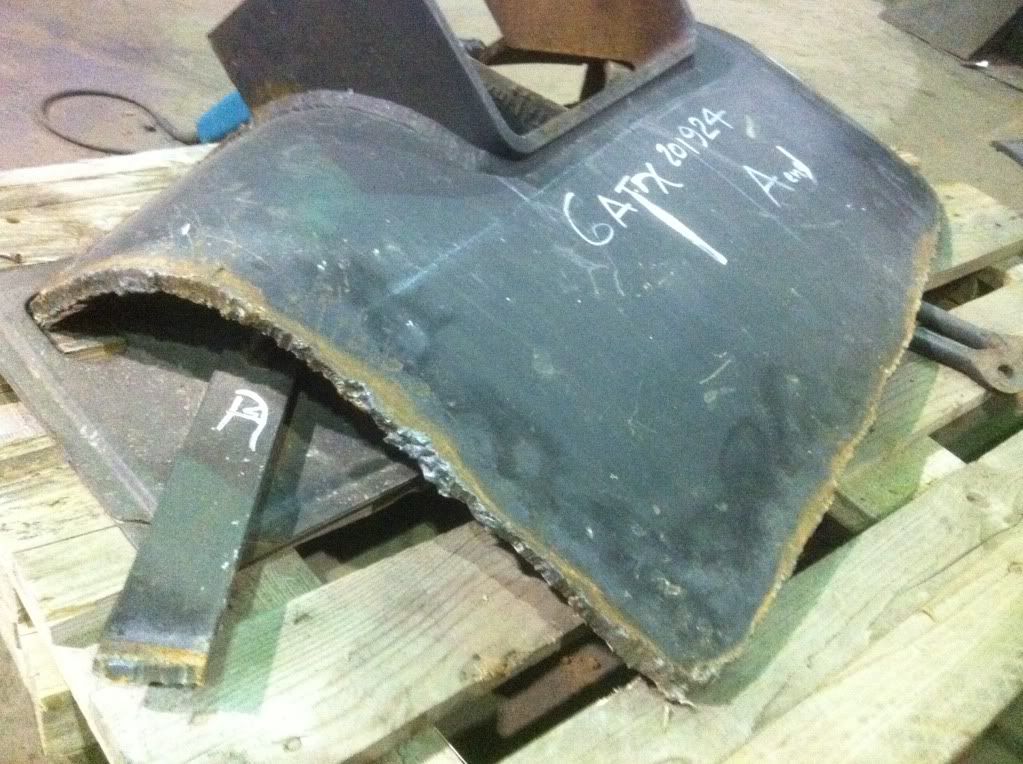
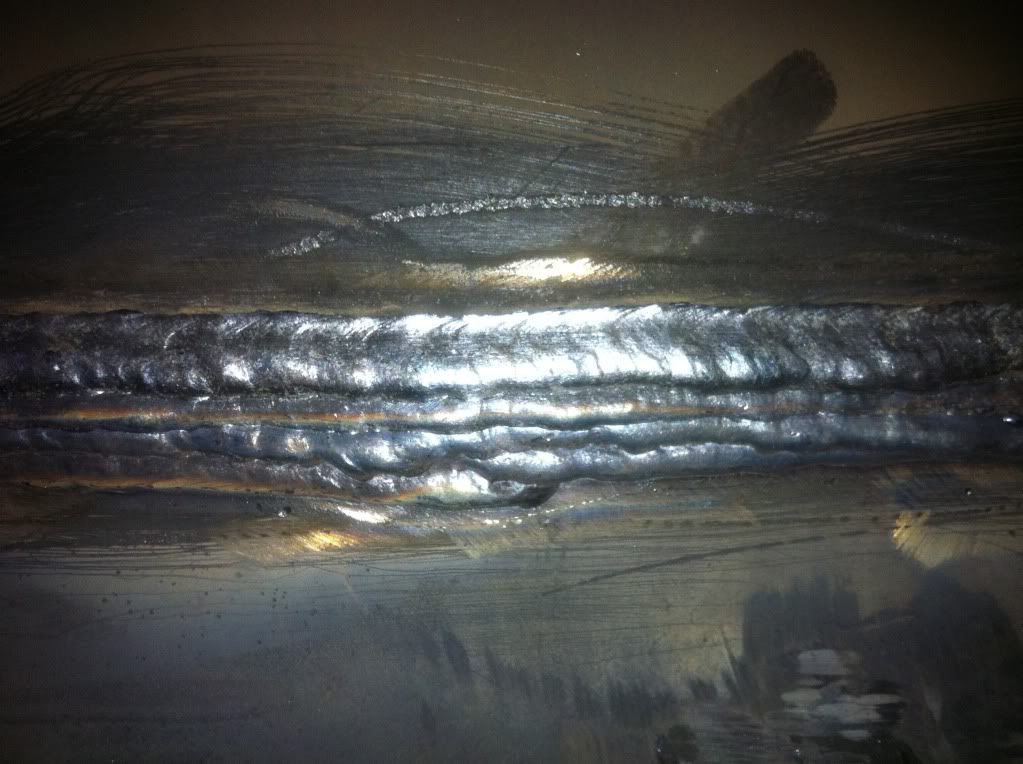
this is the bulkhead cutout insert from the previous pic. before i put it back in there, i had to weld a 1/4" backing strip behind it. the bulkhead is 1/2" thick. this was a fun day of welding as the guy who cut this out didnt have much experience, and my gap and fitup was nothing to be desired. if you look closly at the right side you can actually see the backing strip.


 Reply With Quote
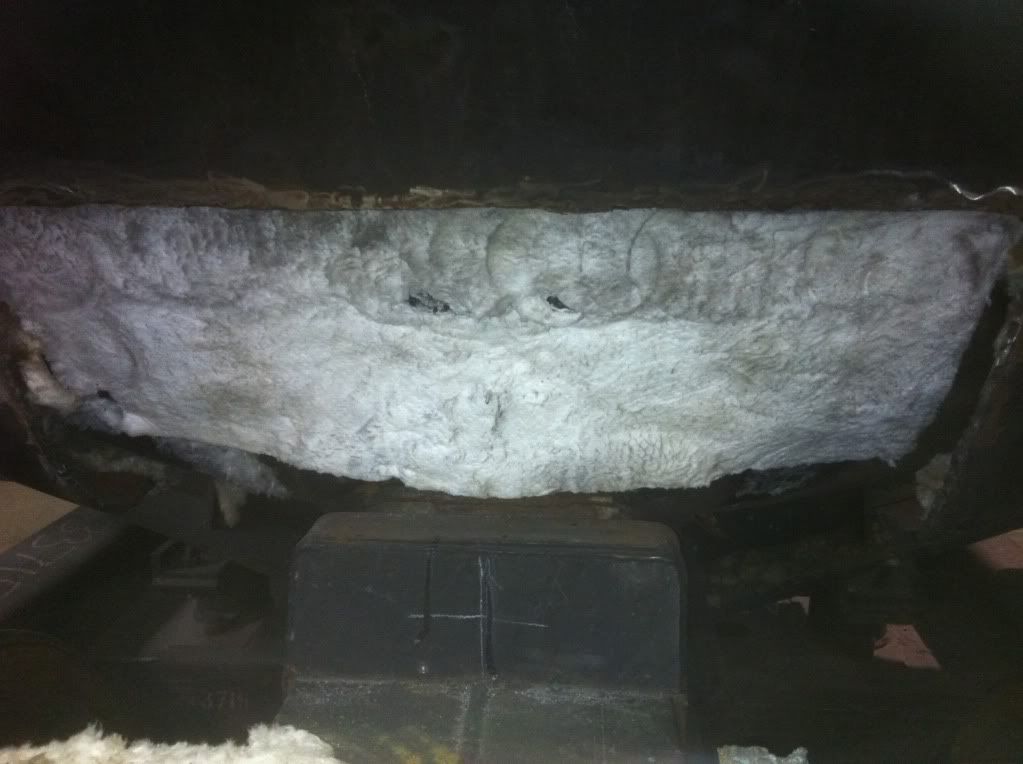


 .
.