


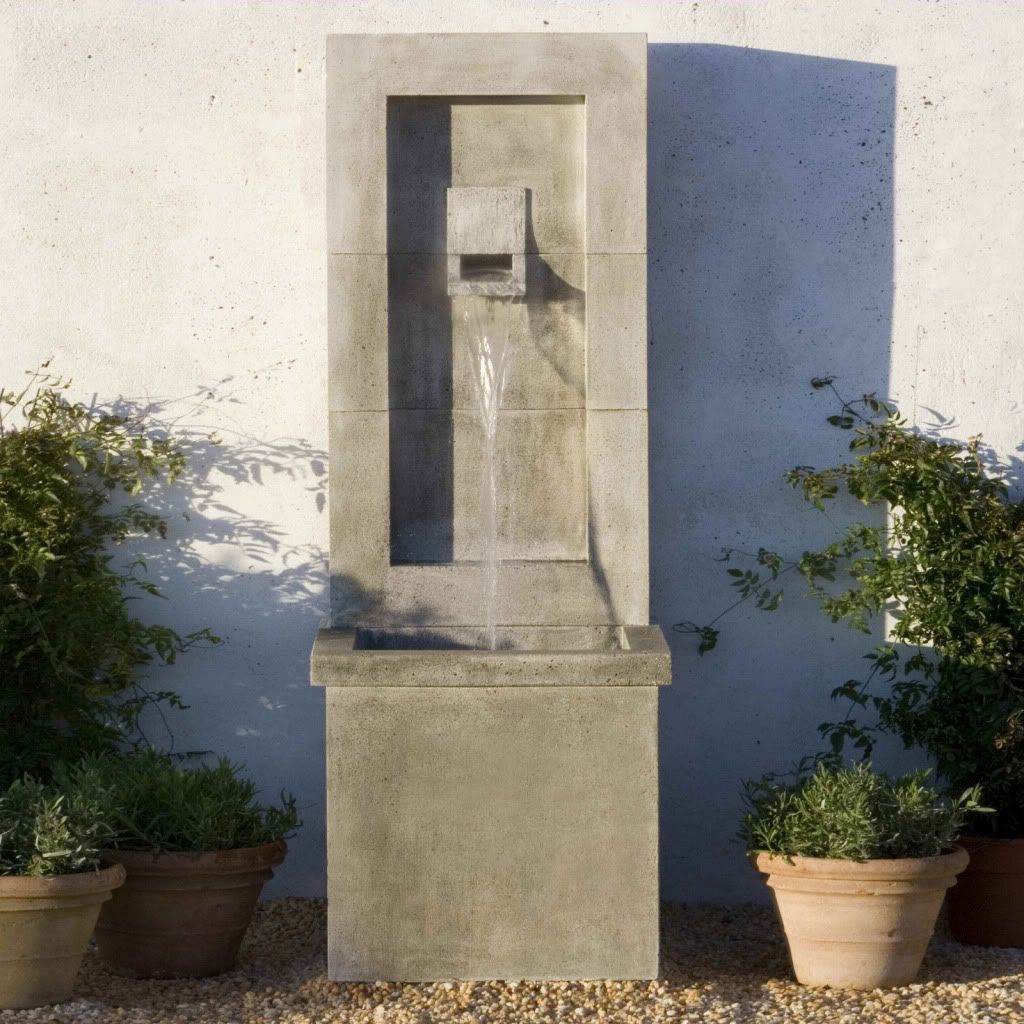
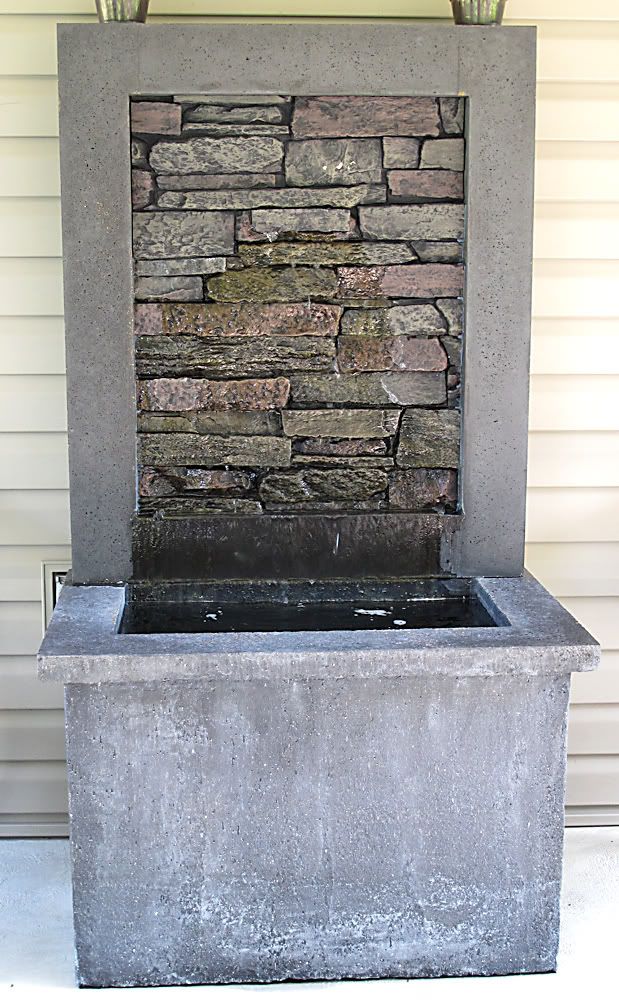
My wife and I wanted a water fountain for our patio. We searched the internet and found one we like......
This one was $1200 plus shipping!!
So, I made the mistake of saying "I could build that for half that price!"
Needless to say, my wife jumped all over that, lol..
So here is my build:
I used Twelve 80lb. bags of concrete.
Twelve bottles of Charcoal tint.
18 bottles of cement fortifier.
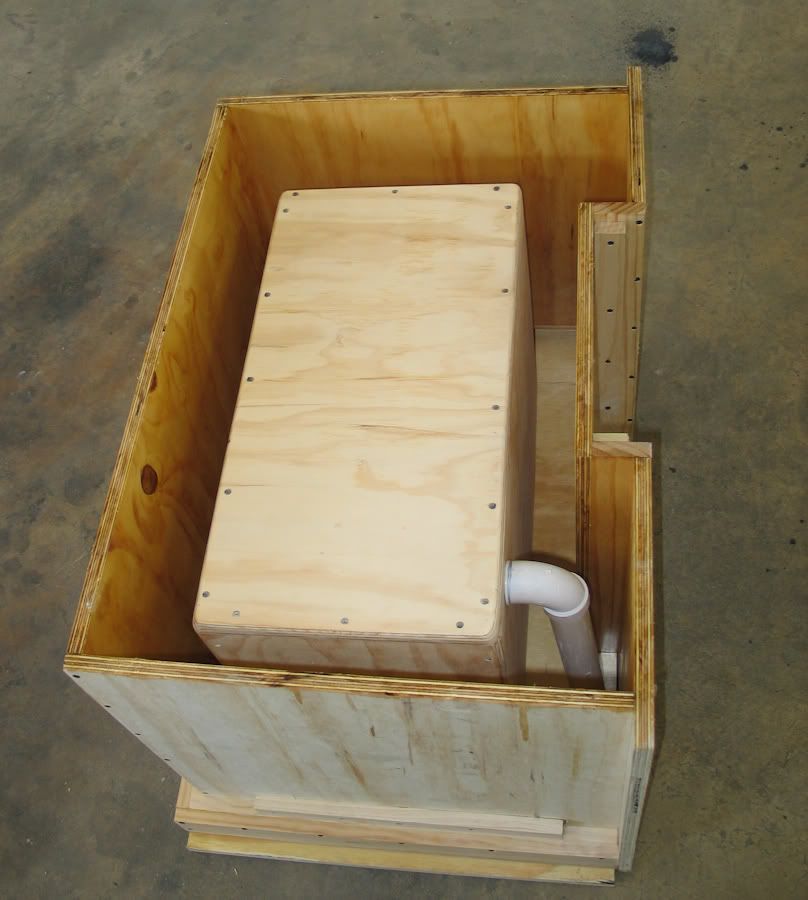
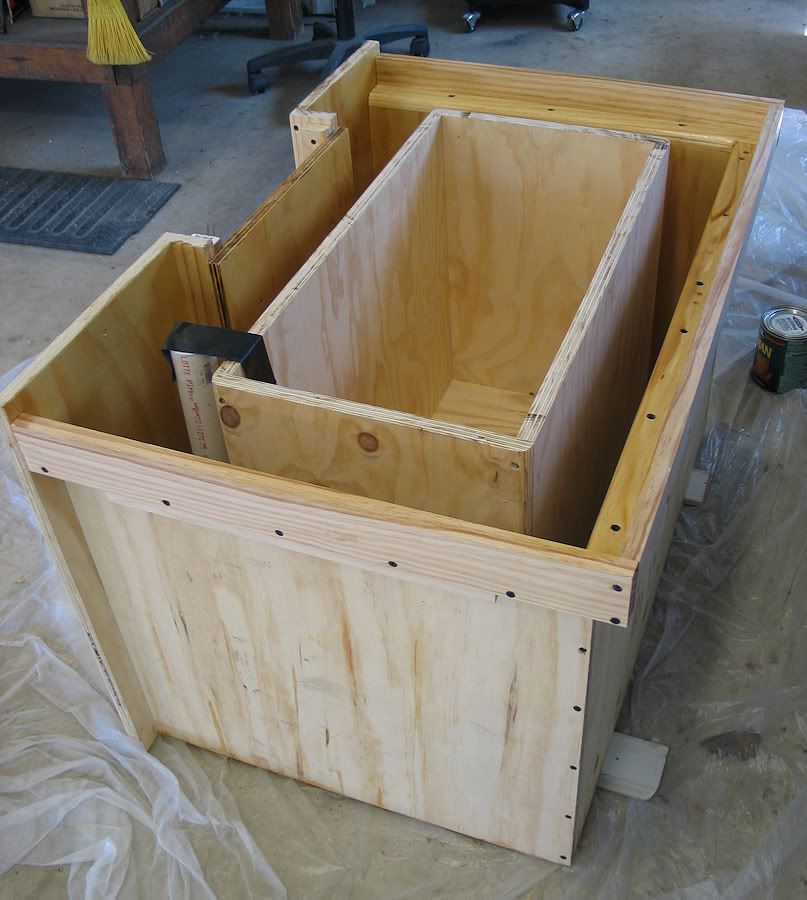
Two sheets of 3/4" plywood for the mold.
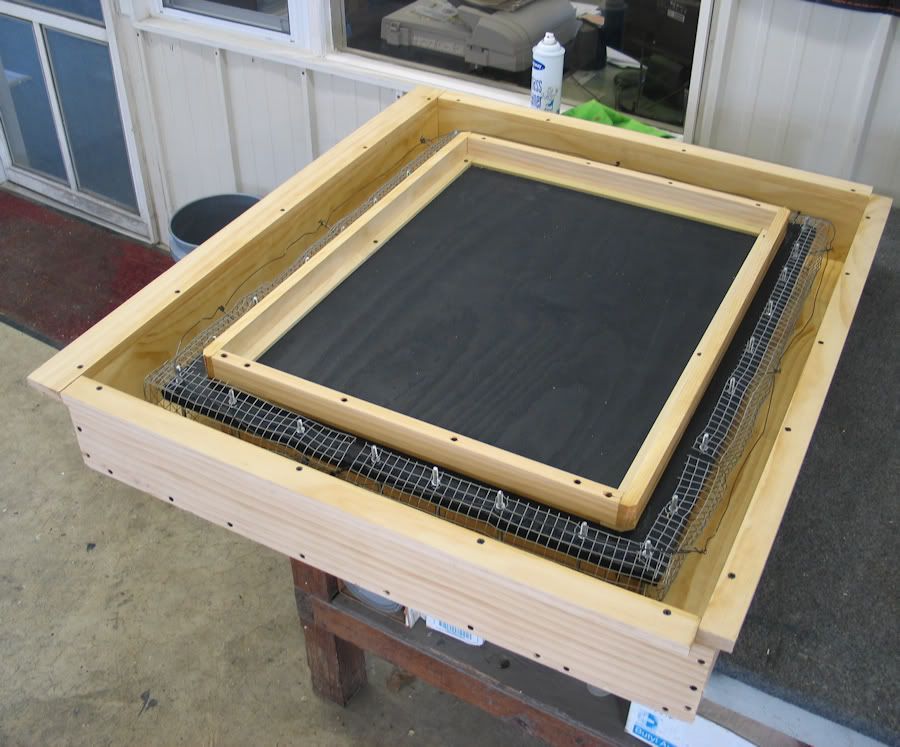
A little chicken wire to reinforce the concrete.
I also used some other misc. stuff I had laying around as well as Buying some Faux rock wall board.
I bought a small pond pump to create the flow and I also installed three 20 watt underwater lights.
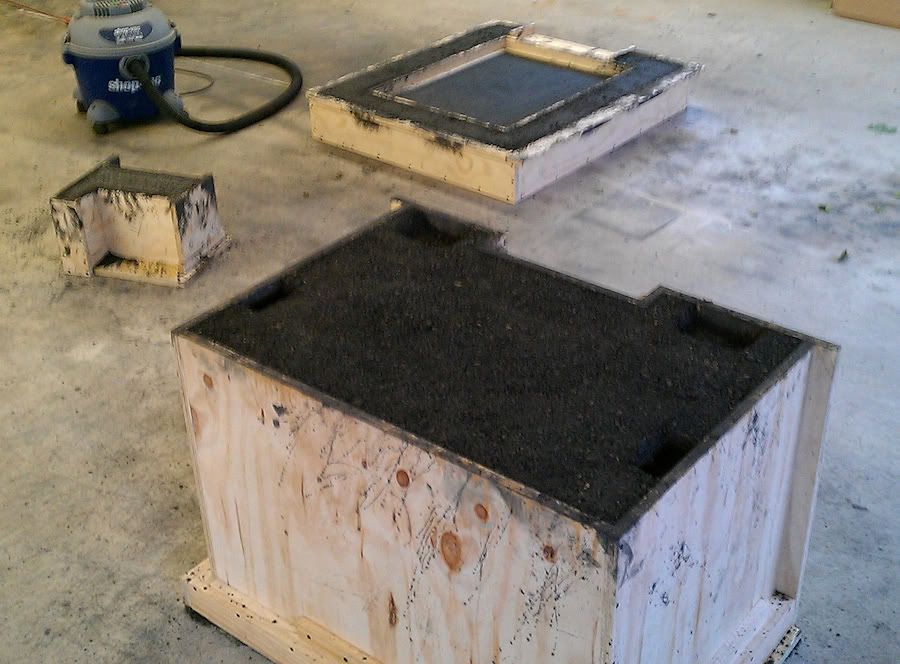
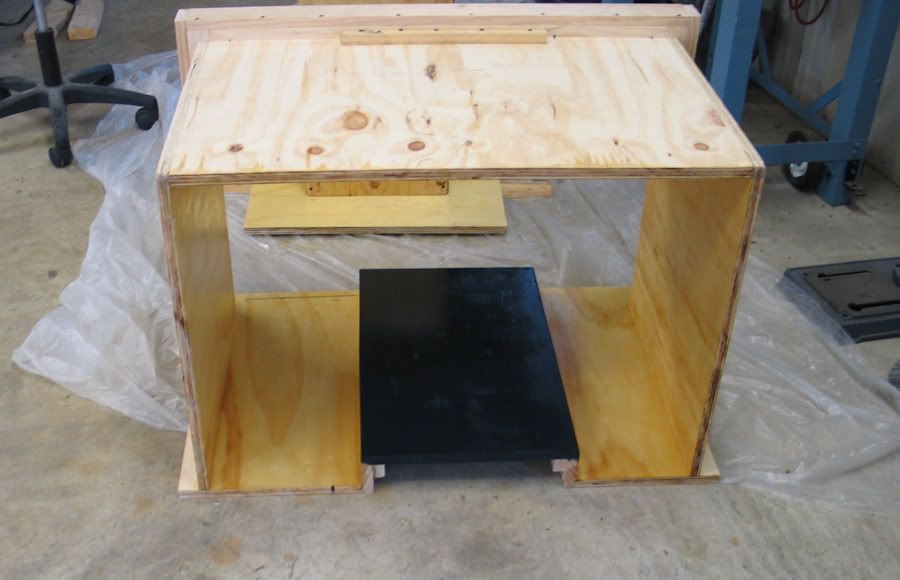
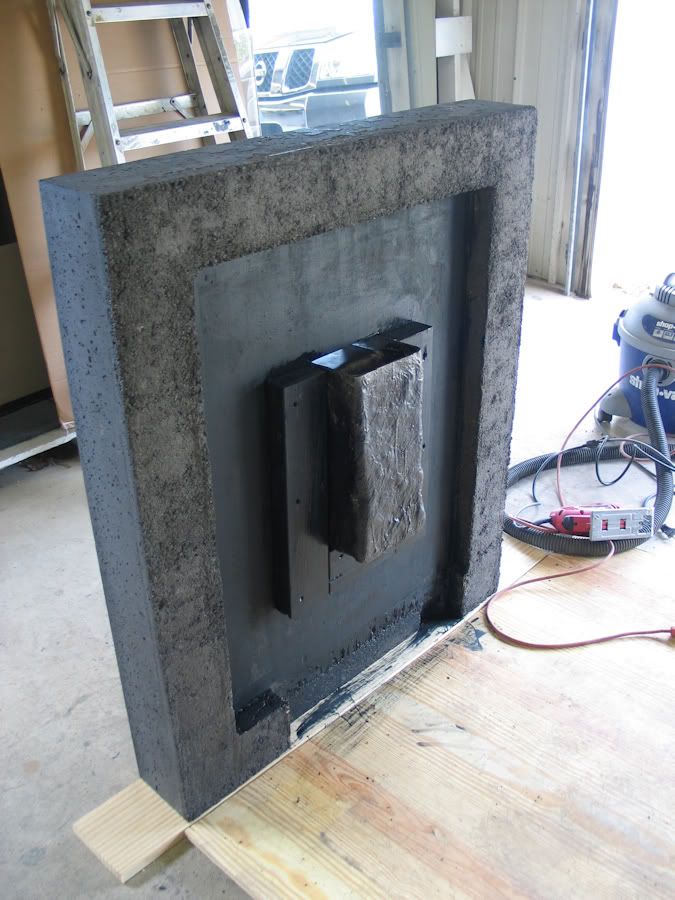
It all started by building the forms to pour the concrete into. Once I finished building them, I gave it three coats of gloss urethane to help with releasing from the concrete. After that dried, I sanded with 600 grit sandpaper all the way up to 2000 grit and then coated with a pure Carnuba wax to aid in release.
Next came mixing and pouring the concrete into the forms.
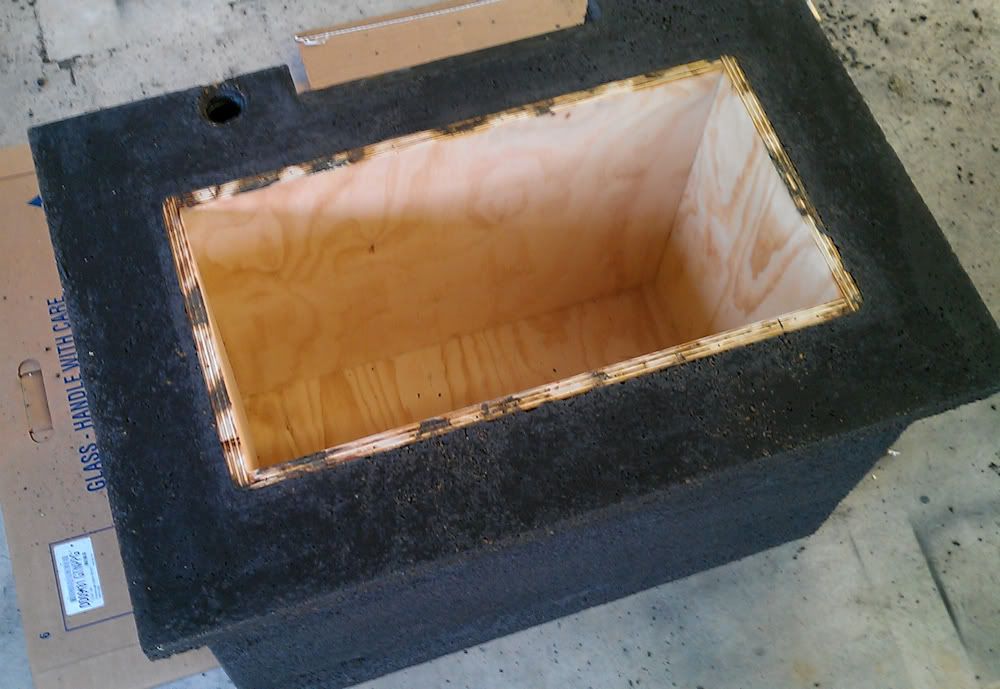
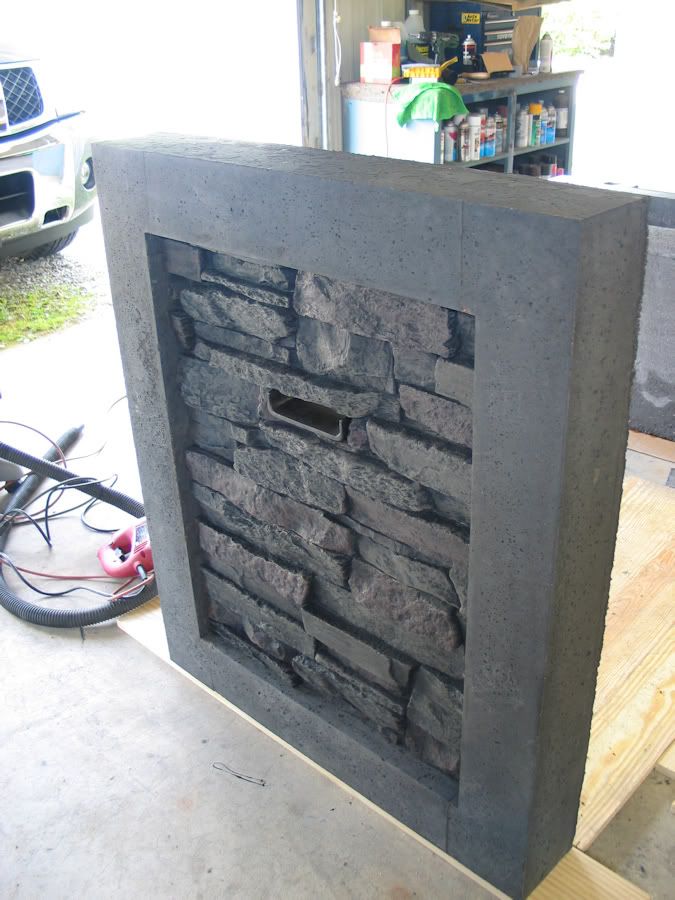
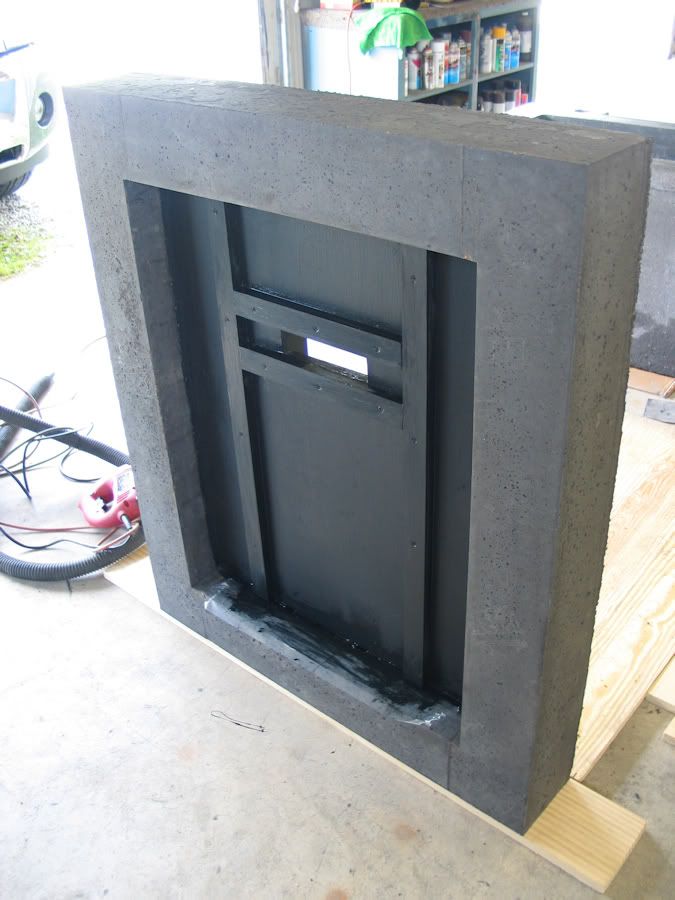
Then the tear down and the wait for it to cure. Once it had 60 days of cure time, I painted the inside walls with a concrete epoxy that is water tight and made for concrete ponds. At this time I installed the Faux rock wall and the Fiberglass weir/waterfall towards the top of the rock wall.
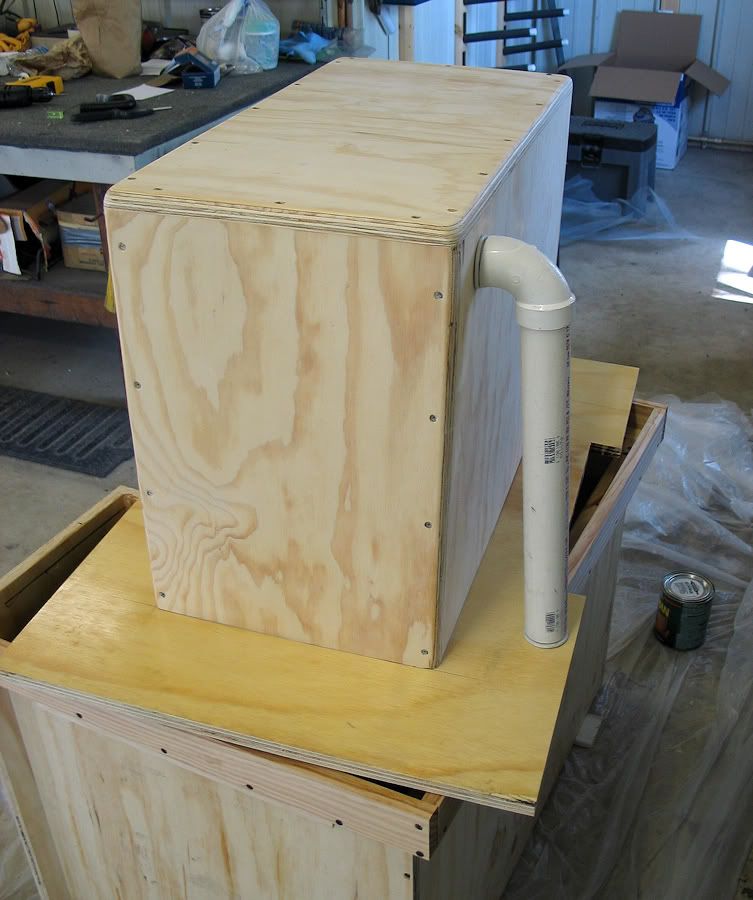
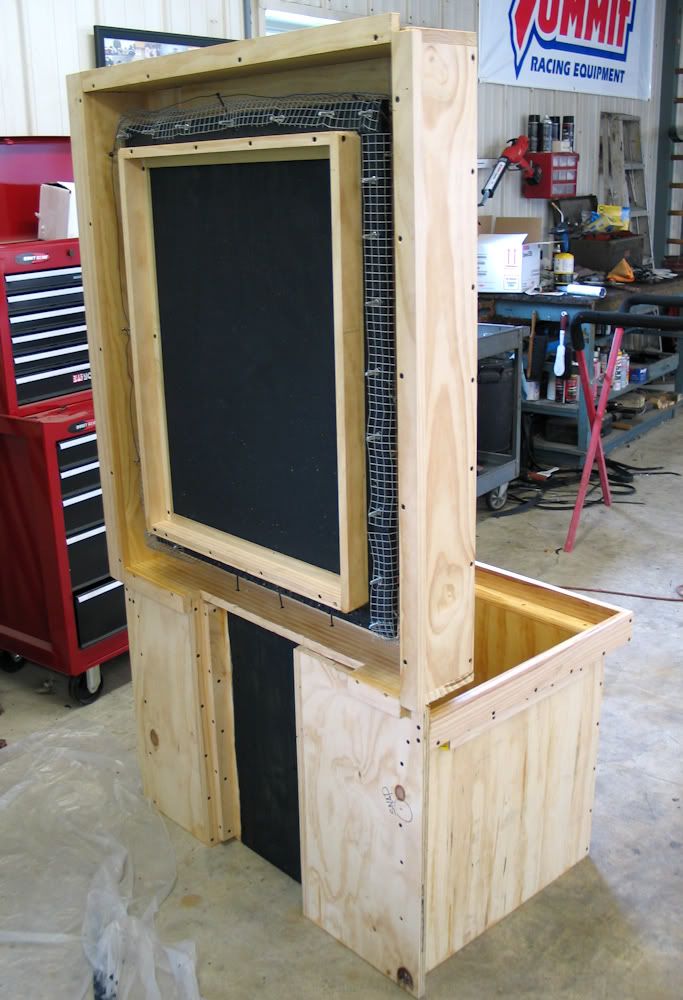
It was made in two pieces...Top and Bottom. It was a huge job moving it from my shop to my house but with a lot of help, we got it in it's place! A little wiring and installing the pump and it was working.
It is now a permanent fixture at this house and when we sell, it stays!


 Reply With Quote
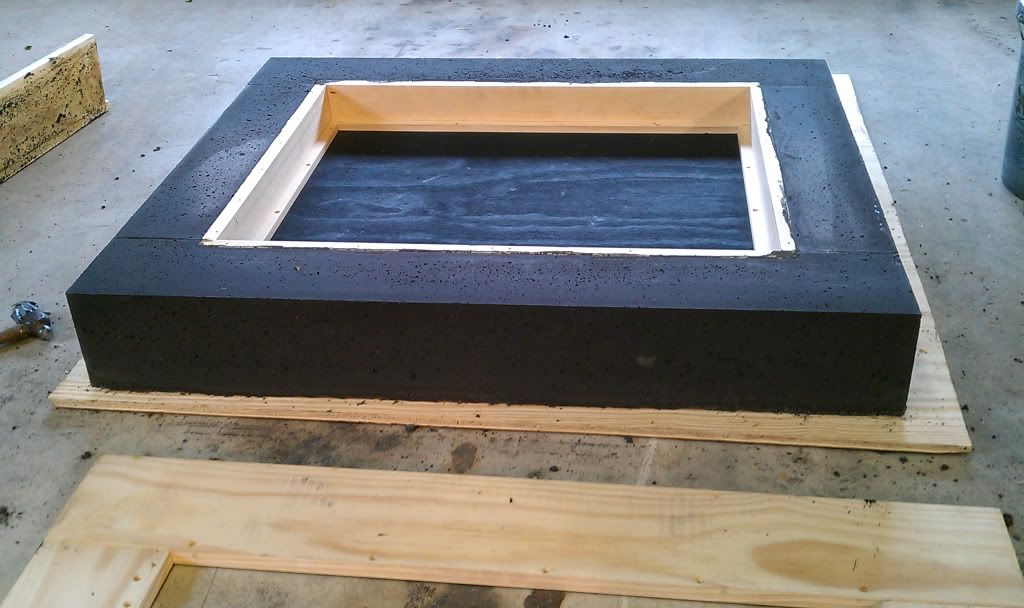

 Just kidding, it is very nice.


 Man, that looks great.


