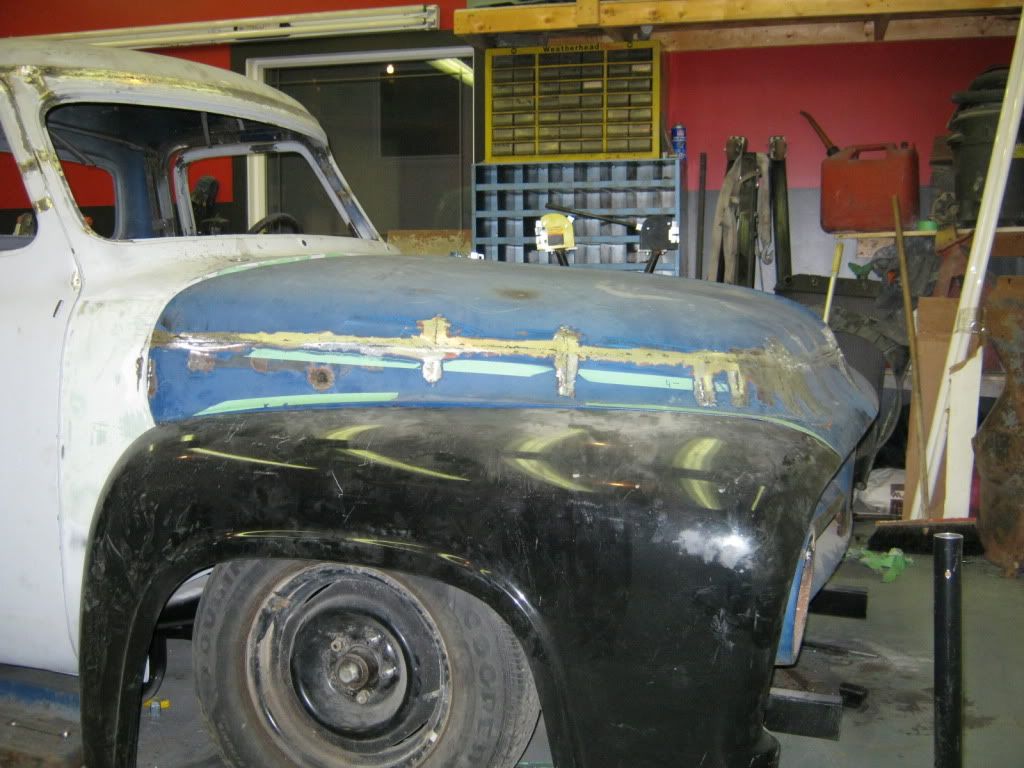
here` a little post on my diy hood sectioning i did a while back, the truck is a `55 ford f100
I removed 1 1/2 at the front of the hood, its a relatively easy job that can be done in a day.
Tools needed:
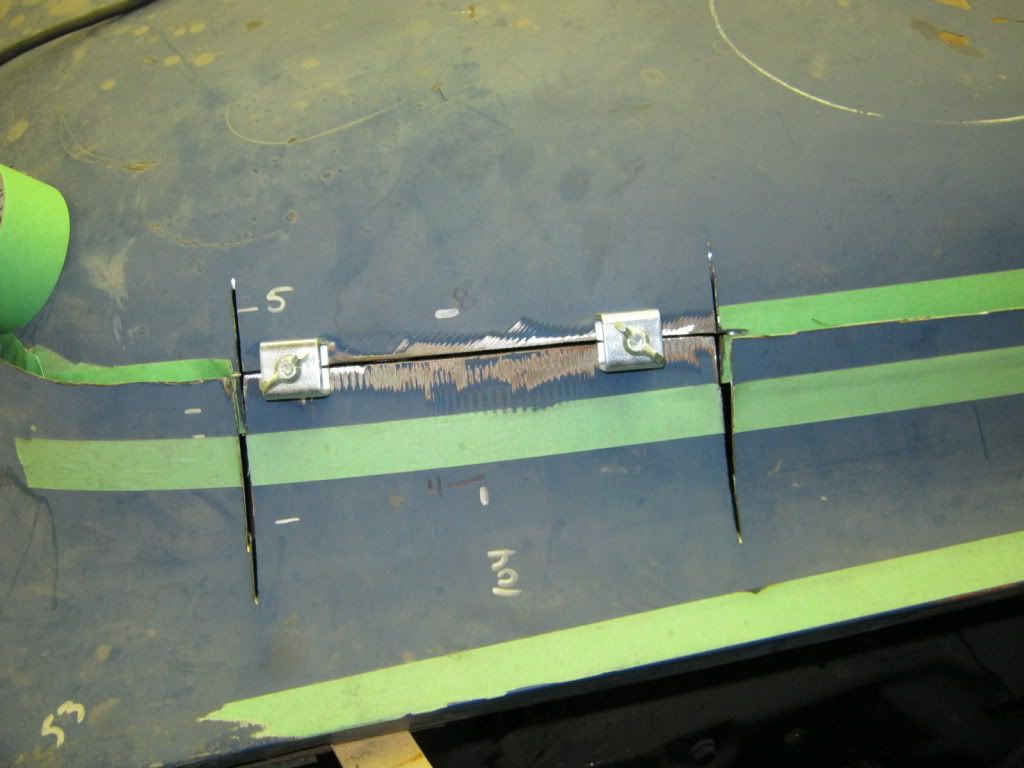
-mig or tig welder
-butt weld panel clamps
-masking tape
-marker
-hammer and dolly
-grinder and cut off wheels
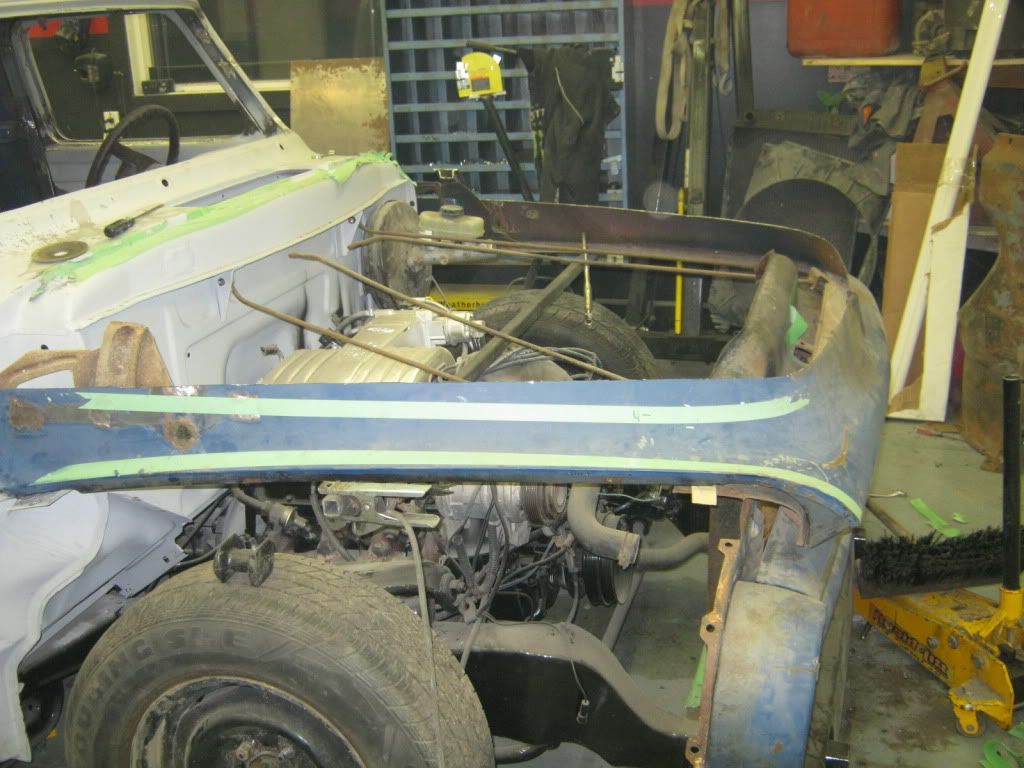
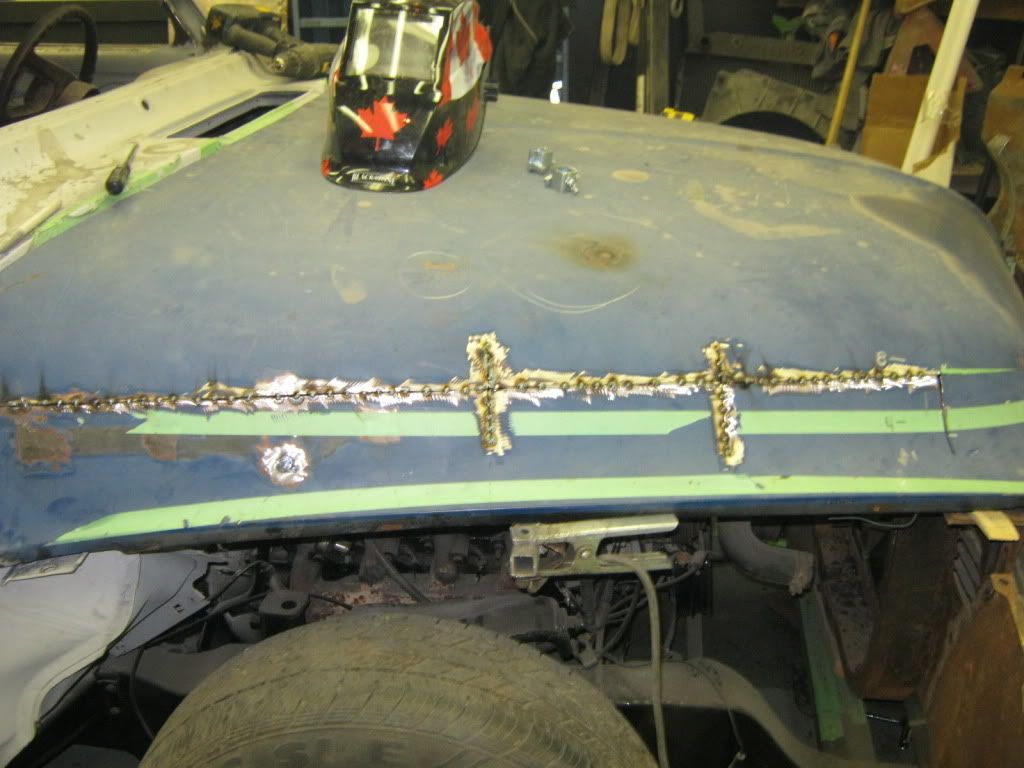
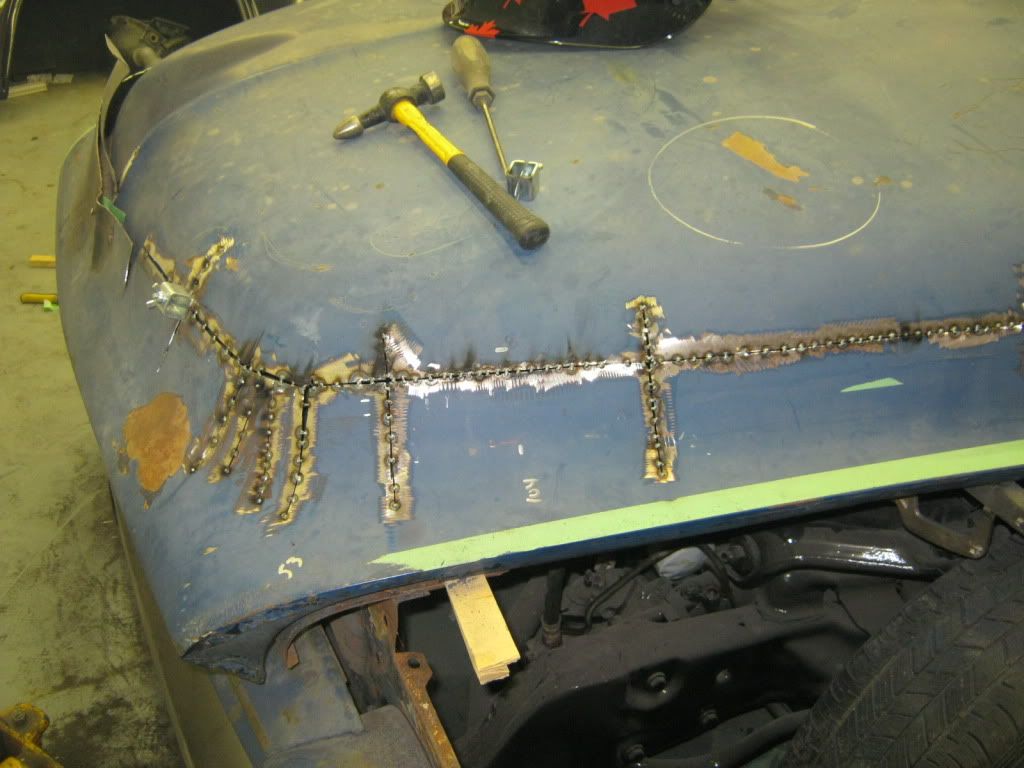
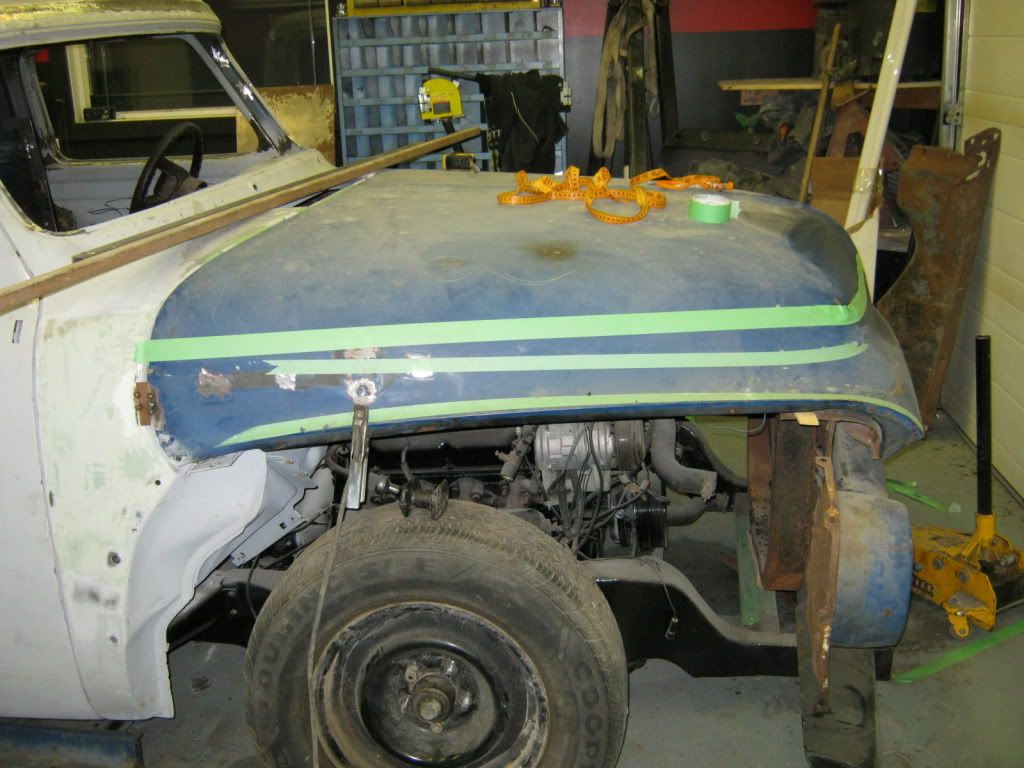
first thing with the hood removed there is an angle iron in the center of the hood which is spot welded to the hood hoop, these spot welds need to be removed, re-install the hood and lign it up to the cowl, make a mark with your marker at the center of the hood and on the cowl, do the same on each side of the hood, these serve as lign up marks which you will use later. tack weld a piece of scrap plate on each side of the hood and tack it to the cowl, this will hold your hood in place, i also ran an angle iron in the bottom center of the hood side to side and tacked into place
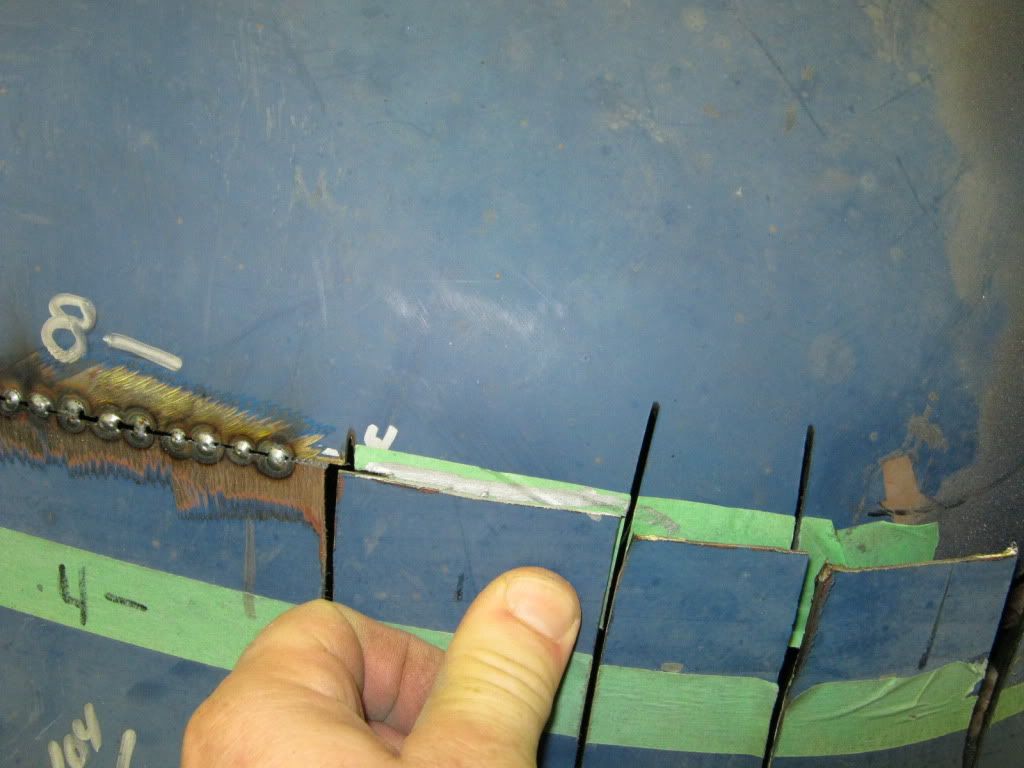
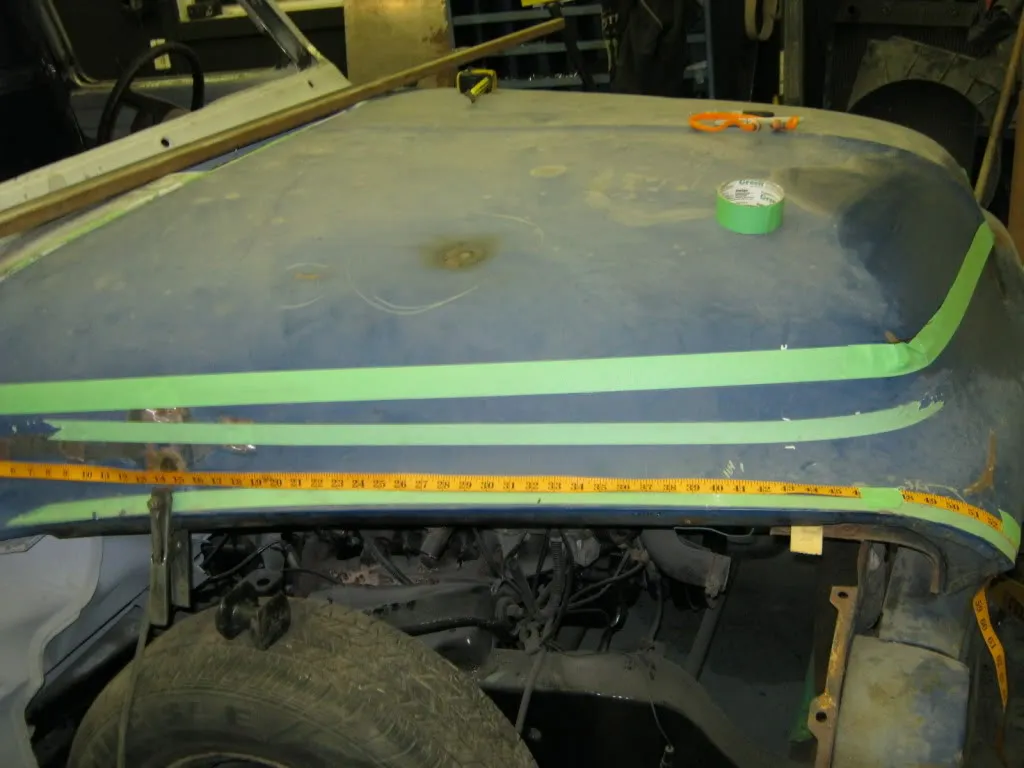
at the back of the hood you want to measure and mark both sides of the hood equally upwards and put a mark where you want to do your cut.
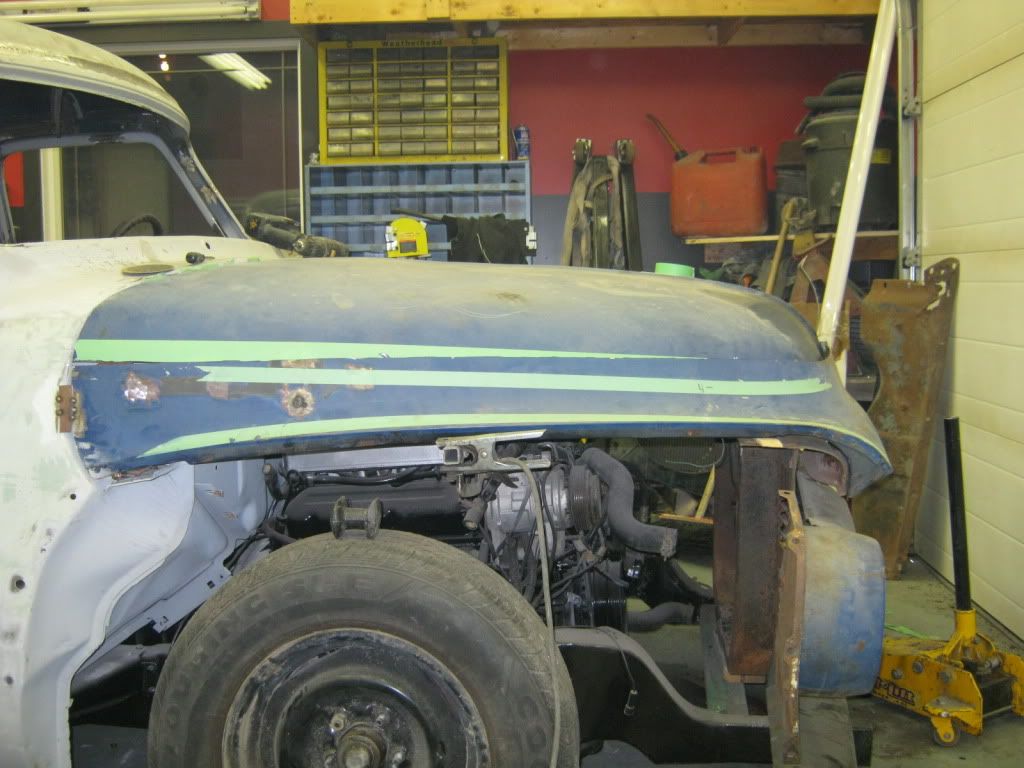
stole my wife`s cloth tape! you want to measure from the end of the hood to 3/4 of the way down the hood (or 41 shown on the tape) mark it and do this on both sides, this is only a reference point to measure up your hood.
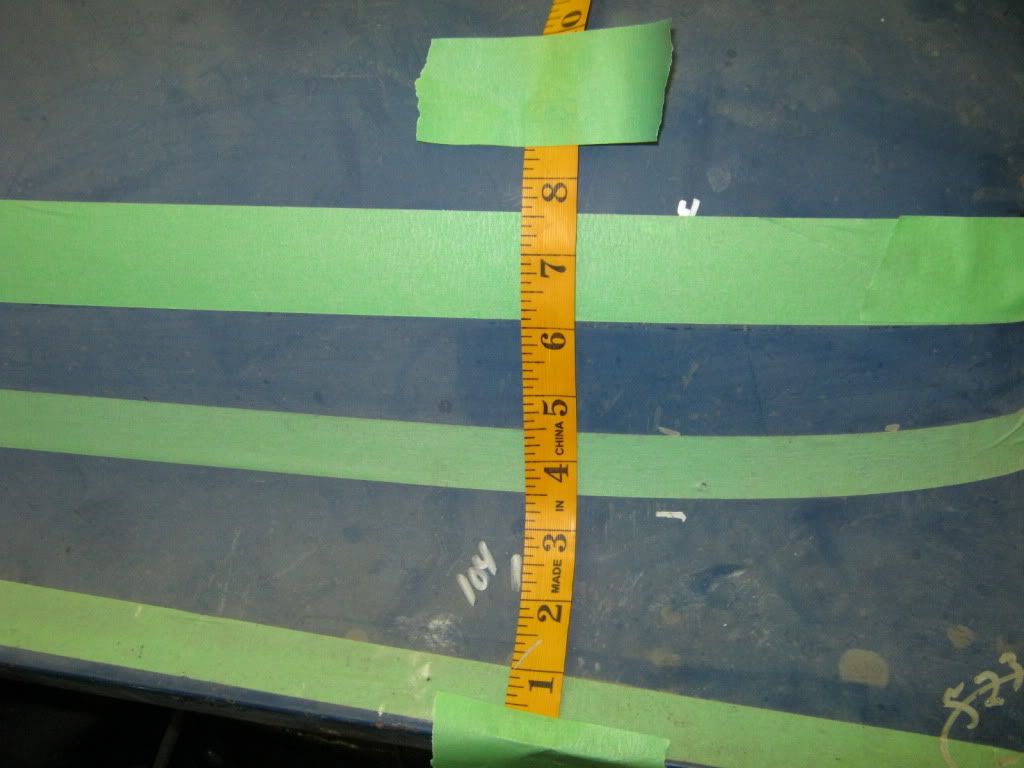
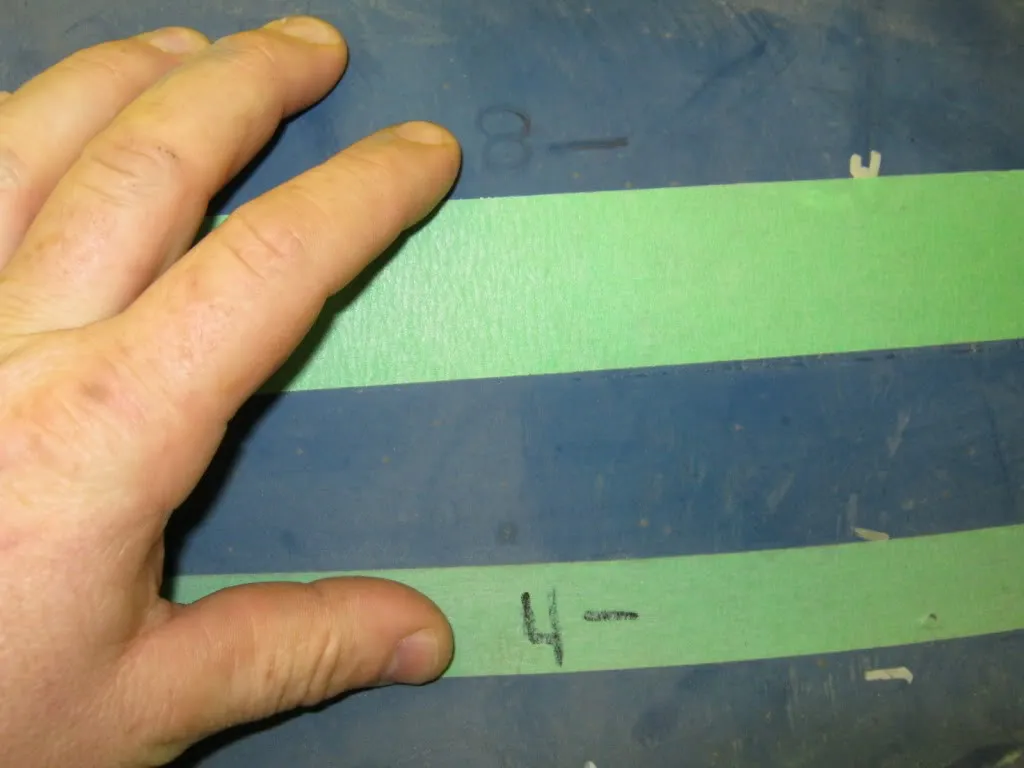
at this point lign up your tape with your last measurement and mark down 4 , 6, 8 inches, each side of the hood
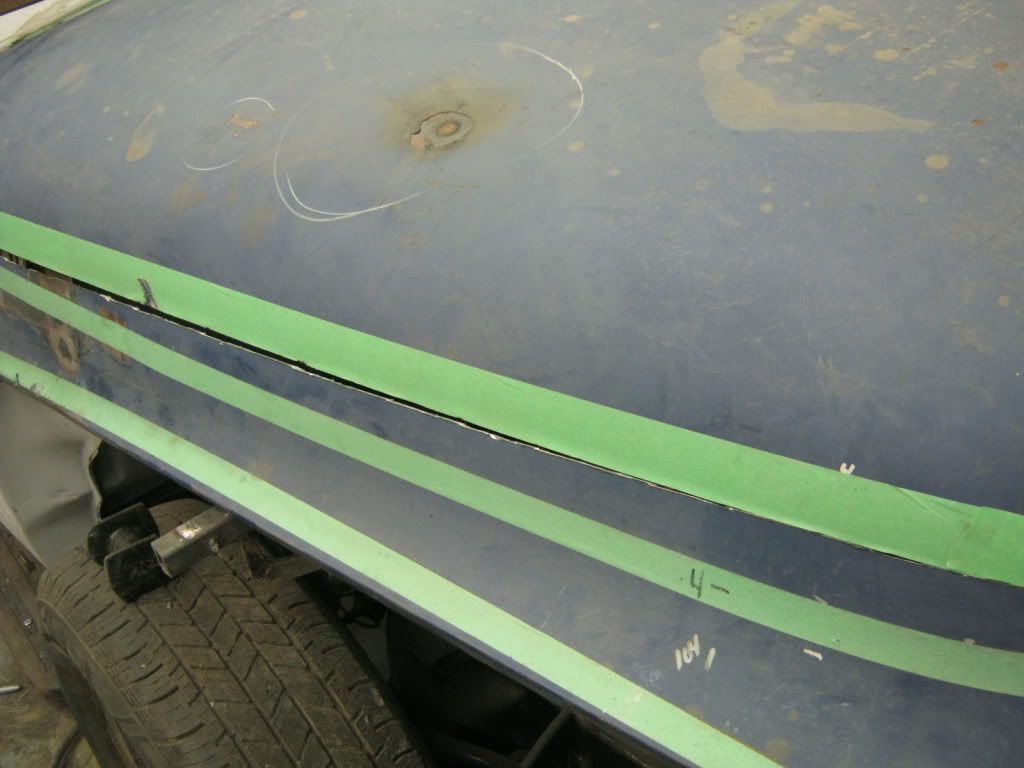
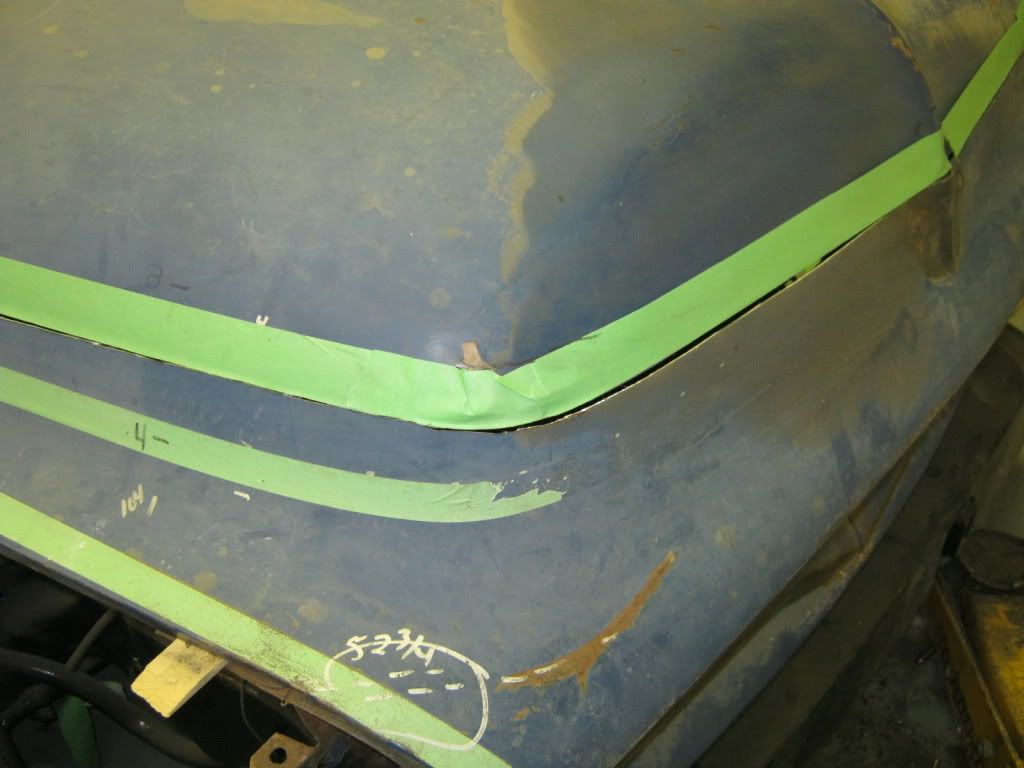
choose the amount you want to remove from the hood and get that width of masking tape, now run your masking tape from the back of the hood to the front using your rear mark and the 6 inch mark in the front, around the front to the other side.
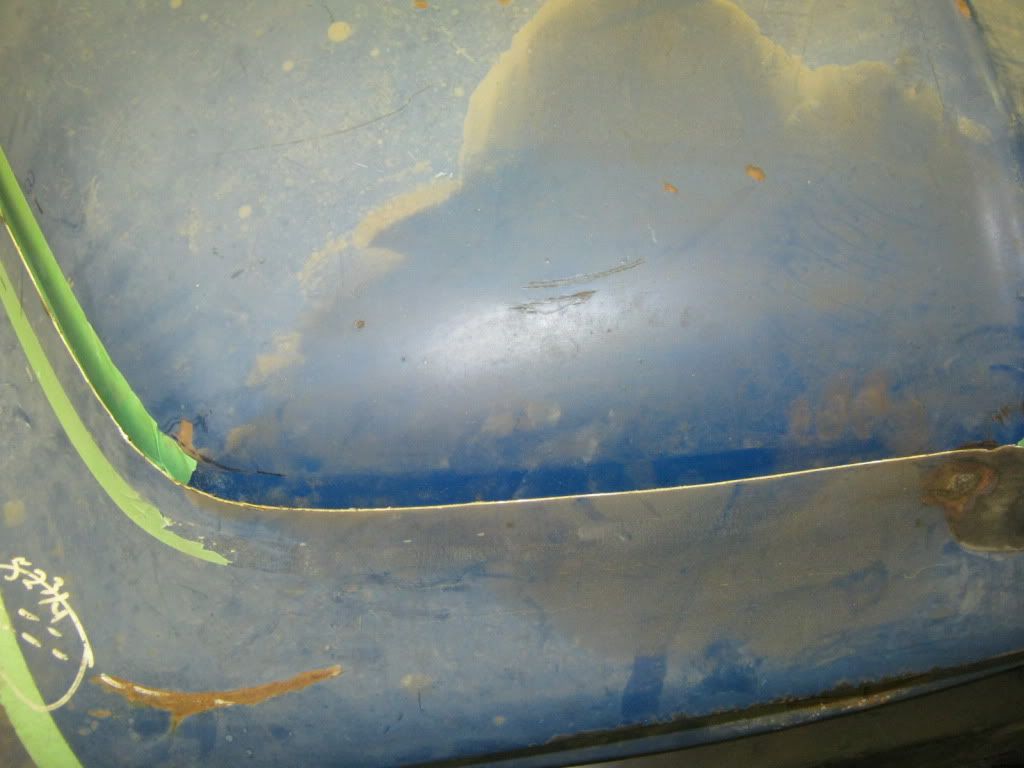
grab your grinder and cut off wheel and cut along the bottom of the tape all around the hood

 Reply With Quote