I have a "Kirkland" brand SS Barbecue that I bought from Costco several years ago that has gone through two three sets of Cast Iron burners.. I've had enough and decided for my first TIG project I would build some new ones..
This Post is split into two parts...
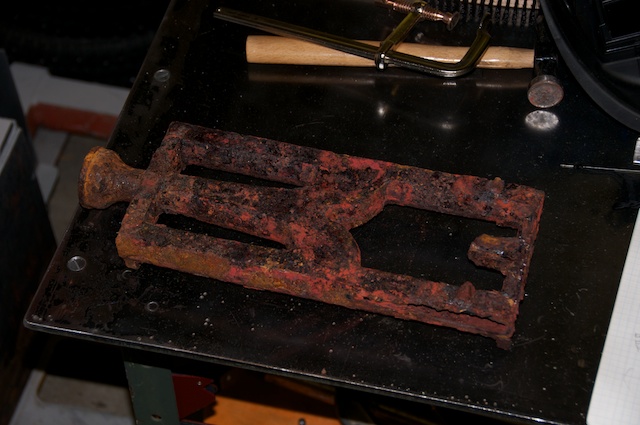
As you can tell, the Old burners are a bit worn out:
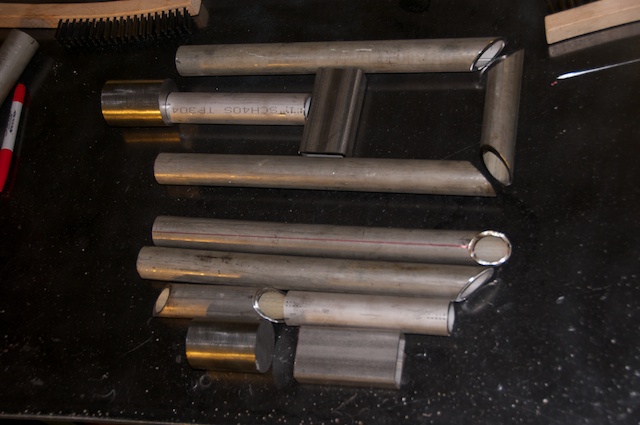
I had a friend provide some Schedule 40 316L SS, 1" pipe that I'll used for the burner tubes.. I bought a piece of 2" round 304SS that I'll turn and mill for the Venturi mixing chambers and air valves. And I bought some 1 x 2" .1" rectangular 304SS for the cross piece..
I figure having heavier metal will be easier to weld... that thin stuff just seems too sensitive for a first project.
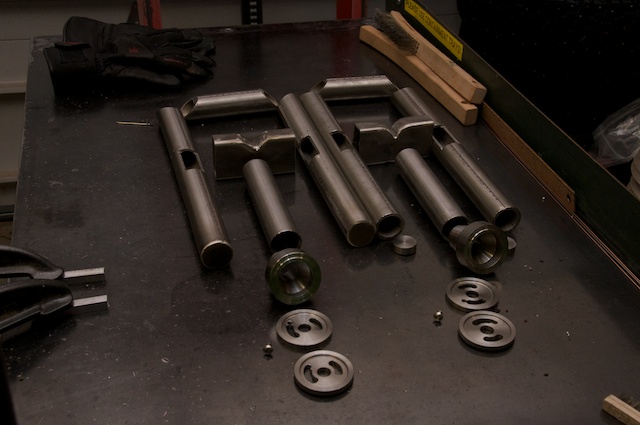
The Parts.. cut but not processed:
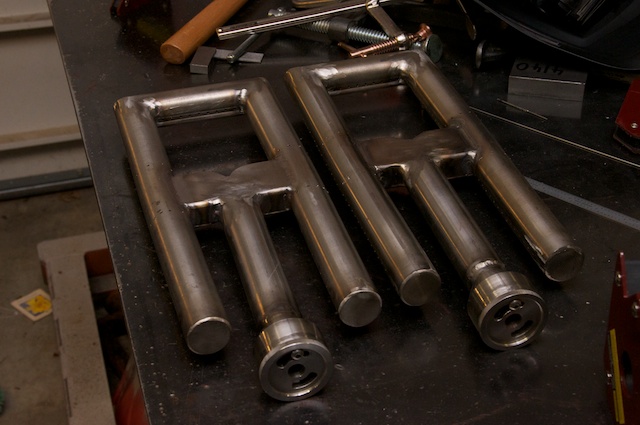
I turned the mixing chambers on my lathe, milled the slots in the burner tubes and the cross pieces on my mill (I have an Emco Mill Lathe Combo that works fairly well for this task. I also drilled about 200 little tiny #50 holes (stainless is hard to drill). Had to continuously squirt coolant on the drill:
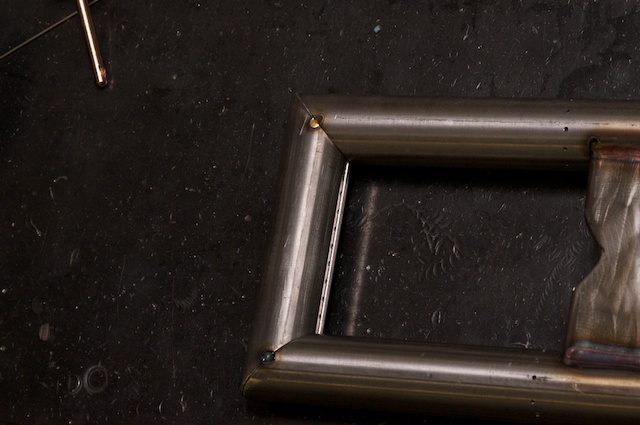
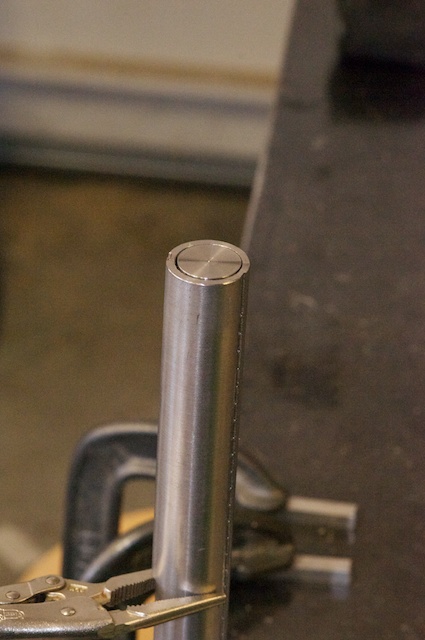
I sliced off some chunks of 1" round 304SS and faced them on the lathe to create the end caps for the burner tubes.. These are the first welds on the project:
Ready to weld
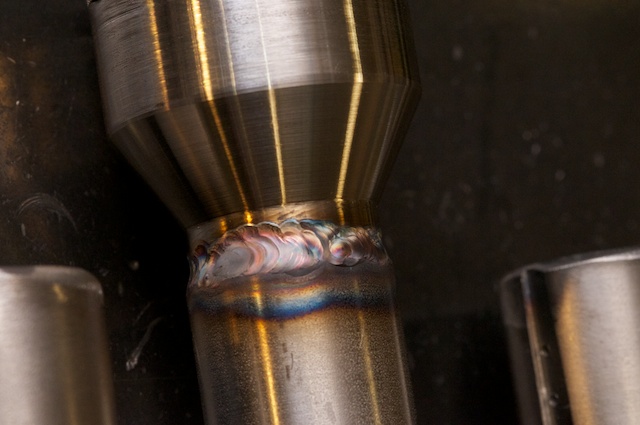
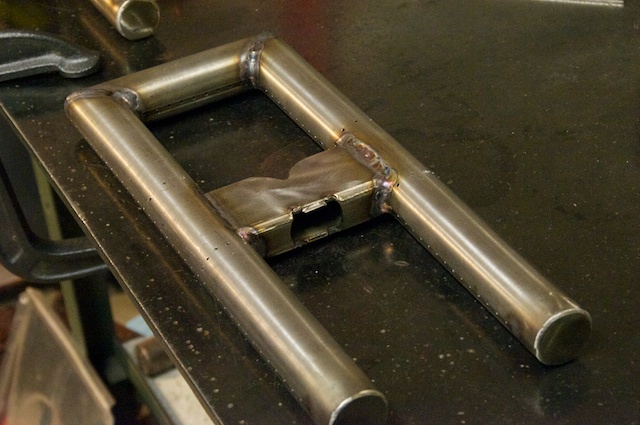
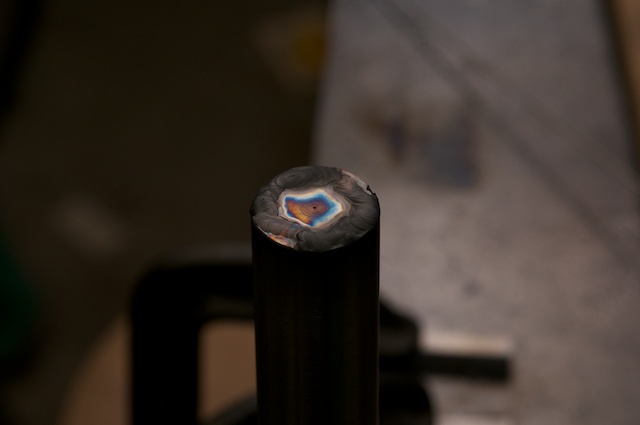
Welded:
Man those are ugly welds..
But it grinds up ok :-)
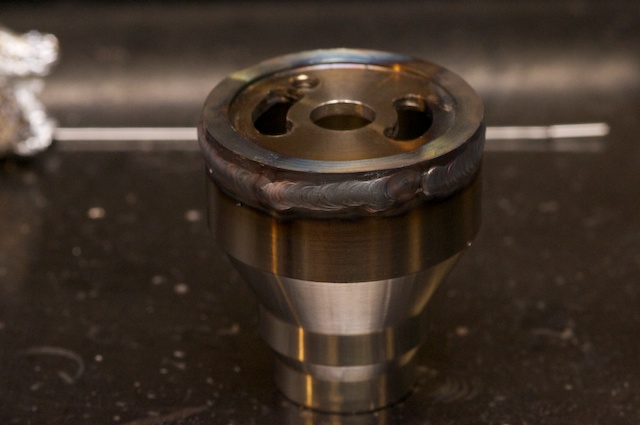
Welding the Air Valves onto the mixing Chamber:
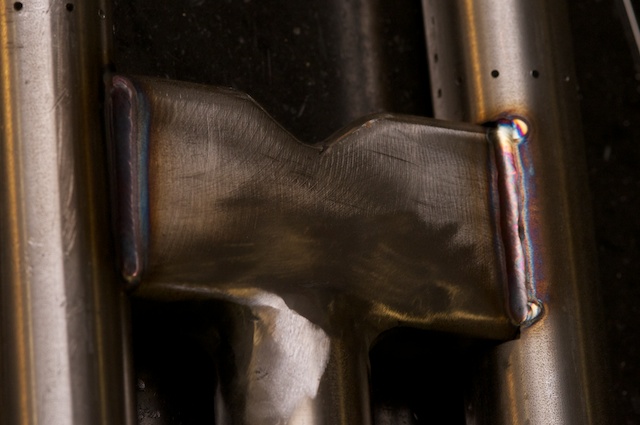
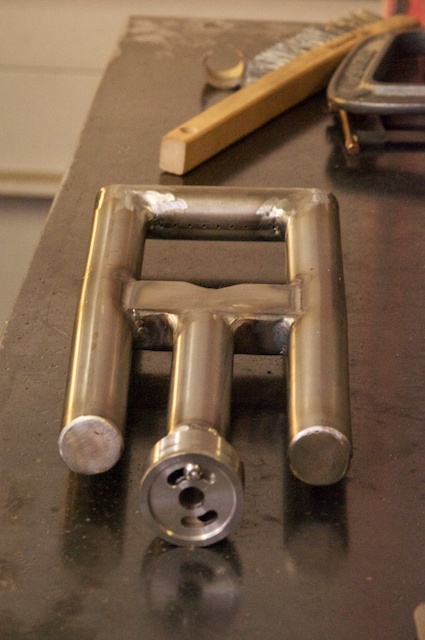
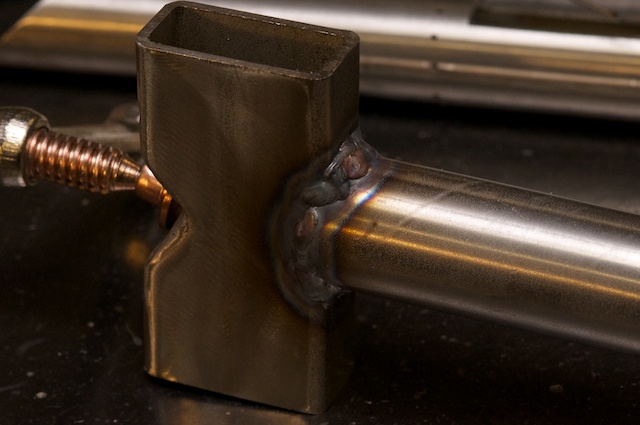
Welding the feeder tube onto the crossbar. The welds seem to be getting a little better but still pretty ugly:
... More in the second part.


 Reply With Quote